
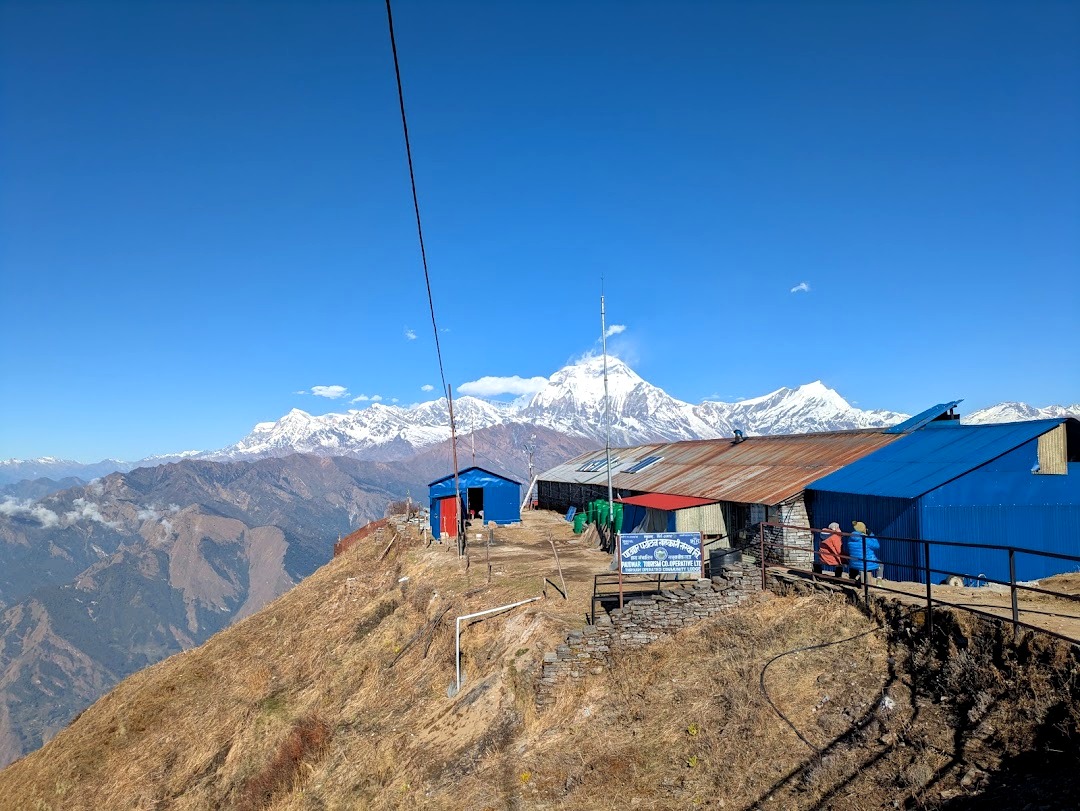

The Khopra Danda trek, also called the Khopra Ridge trek, is the Annapurna trek we’d recommend to almost anyone who wants big Himalayan views without the crowds of Annapurna Base Camp or the sheer length of the Annapurna Circuit.
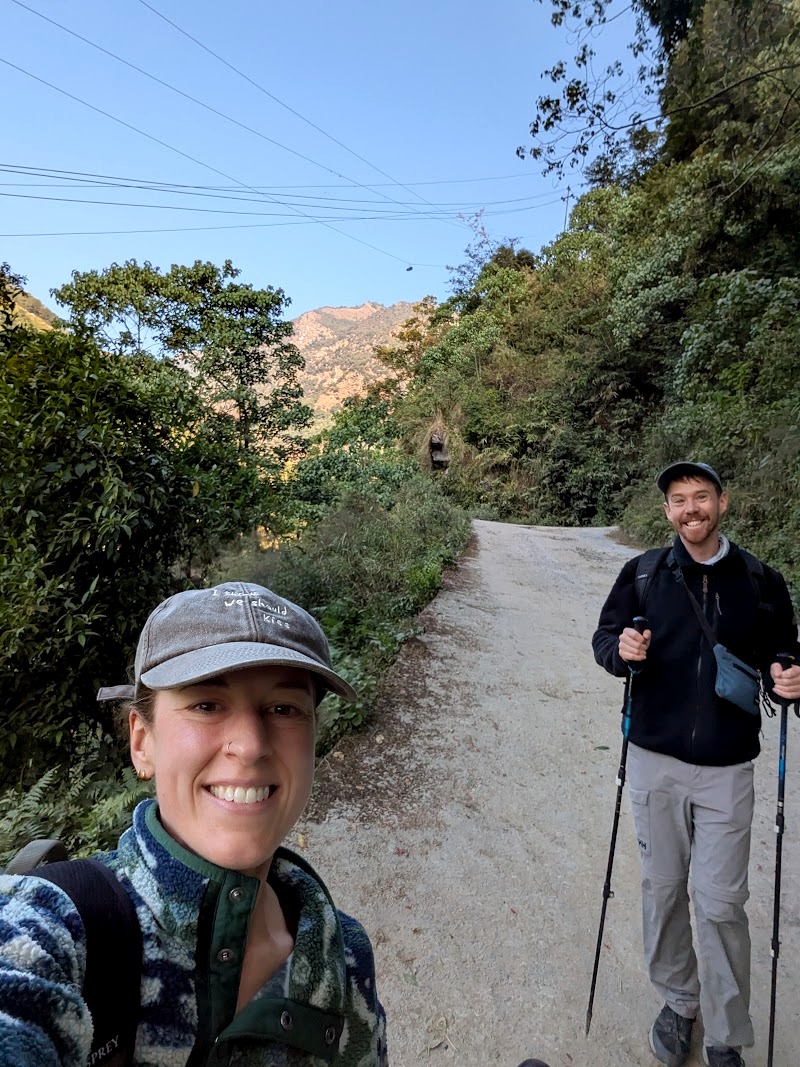
We walked it in November 2026 over eight days, starting and finishing at Birethanti, about an hour and a half’s drive from Pokhara. Along the way we climbed through Gurung villages and rhododendron forest, watched the sun rise over the Annapurna and Dhaulagiri ranges from Muldai Peak, shared the trail with yaks, battled mild altitude sickness and a room full of mice, and finished with sunrise at Poon Hill.
Our guide, who has been trekking for more than 20 years, told us the view from Muldai Peak is the best in Nepal. After standing up there at sunrise, we’re not going to argue.
This is our complete guide to the trek: what it cost, how we booked it, what each day was really like, where we slept and ate, how the altitude affected us, what to pack, and what we’d do differently next time.
The Khopra Ridge Trek at a Glance
| Region | Annapurna Conservation Area, Nepal |
| Our Duration | 8 days (9 days if you add Khayar Lake) |
| Distance We Walked | About 80km in total (77 to 83km, adding up each day) |
| Start and Finish | Birethanti, 1 to 1.5 hours by car from Pokhara |
| Highest Point | Khopra Danda, about 3,660m (optional side trip to Khayar Lake, around 4,600m) |
| Best Viewpoint | Muldai Peak, 3,637m, at sunrise |
| Walking Per Day | Roughly 3 to 7 hours |
| Difficulty | Moderate: lots of stone steps, a few steep climbs, and two nights above 3,000m |
| What we paid | US $650 per person with Nepal Wilderness Trekking (guide, porter, permits, transport and three meals a day) |
| Accommodation | Teahouses, ranging from en-suite doubles to very basic rooms |
| When we went | November: clear skies, hot days low down, freezing nights up high |
| Guide | A licensed guide is required for foreign trekkers in the Annapurna region |
In short: the Khopra Ridge trek gives you some of the best mountain views in the Annapurnas, with far fewer people than the big-name treks, and finishes with the classic Poon Hill sunrise as a bonus.
Khopra Ridge Trek Elevation Profile
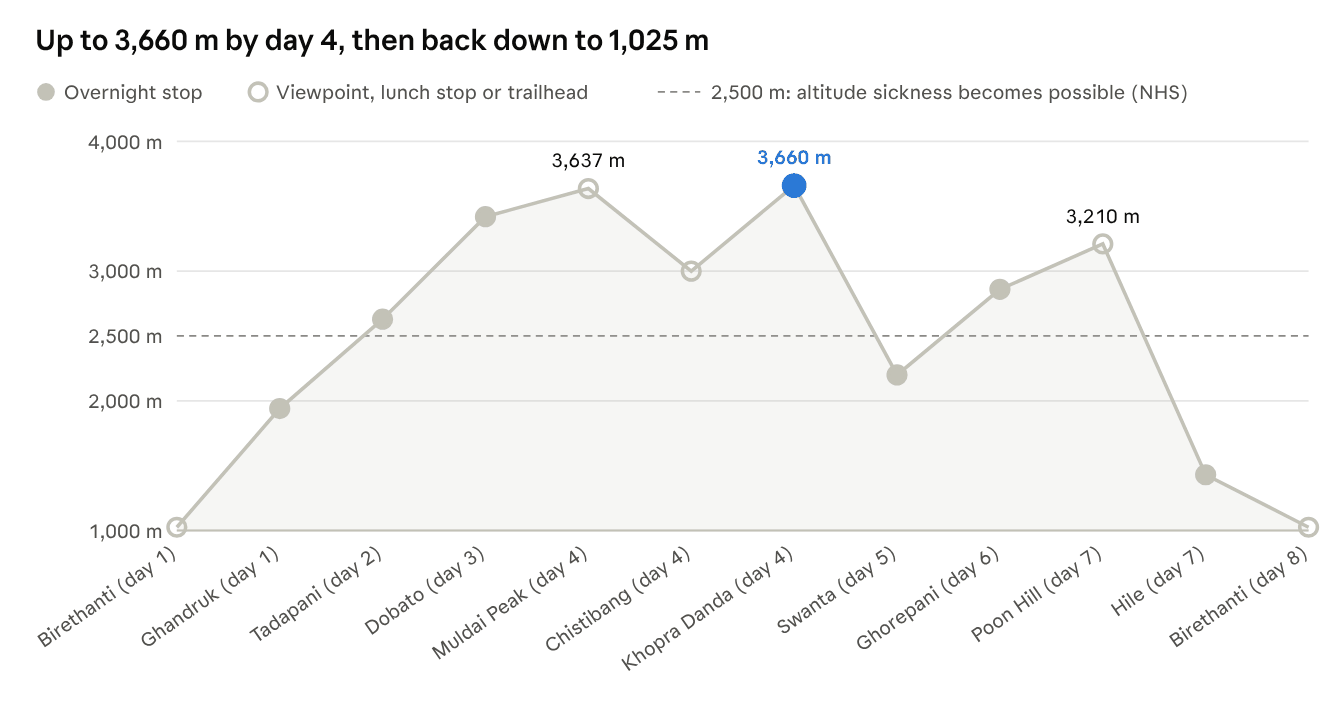
You pass 2,500m on day two, sleep above 3,000m on nights three and four, then lose more than 2,600m over the last four days. Published altitudes vary by up to 100m between sources, so treat these as approximate.
Why Choose the Khopra Ridge Trek?
There are plenty of treks to choose from in the Annapurna region. Here’s why we picked Khopra Danda, and why we’d recommend it.
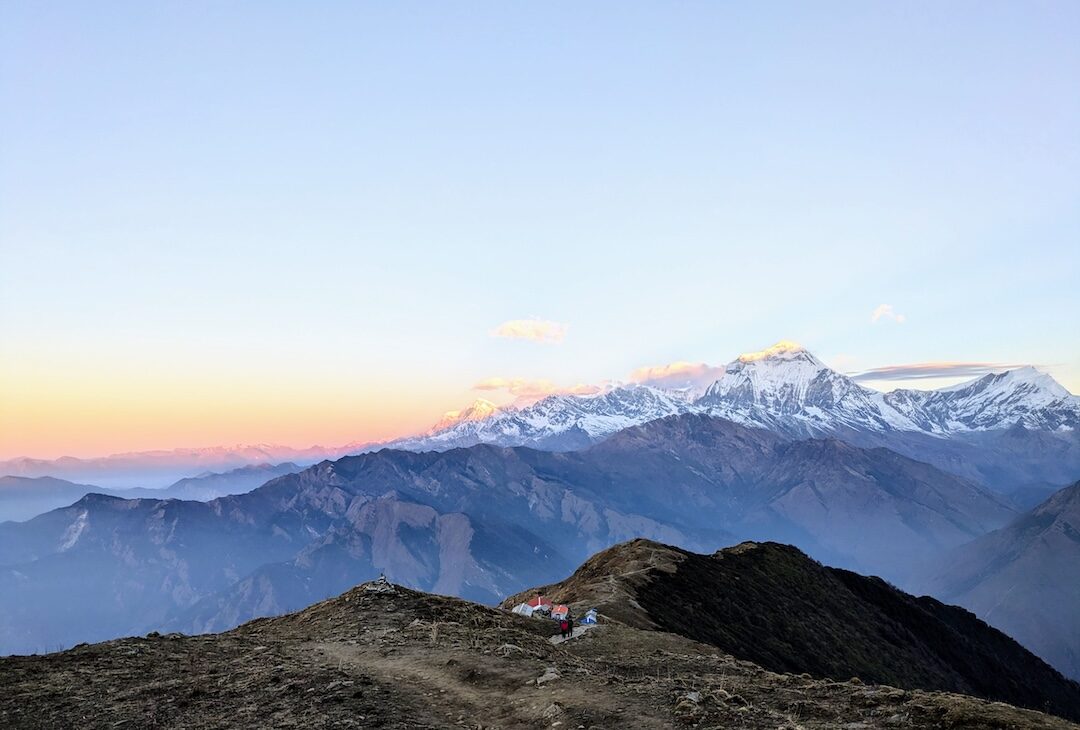
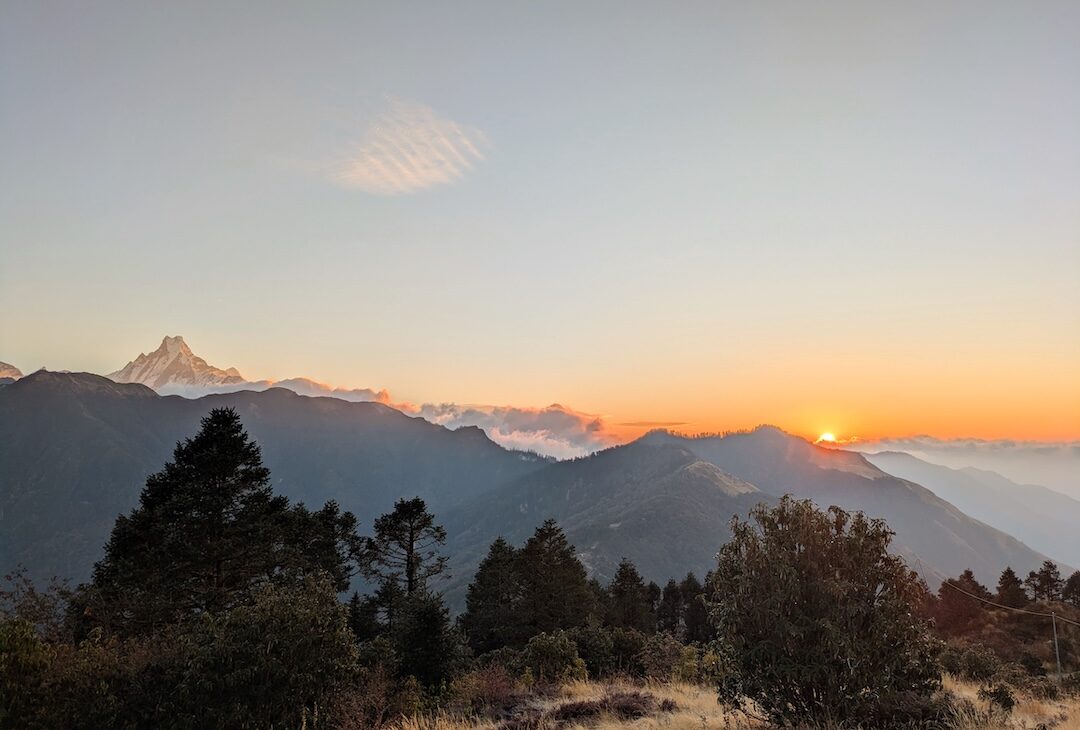
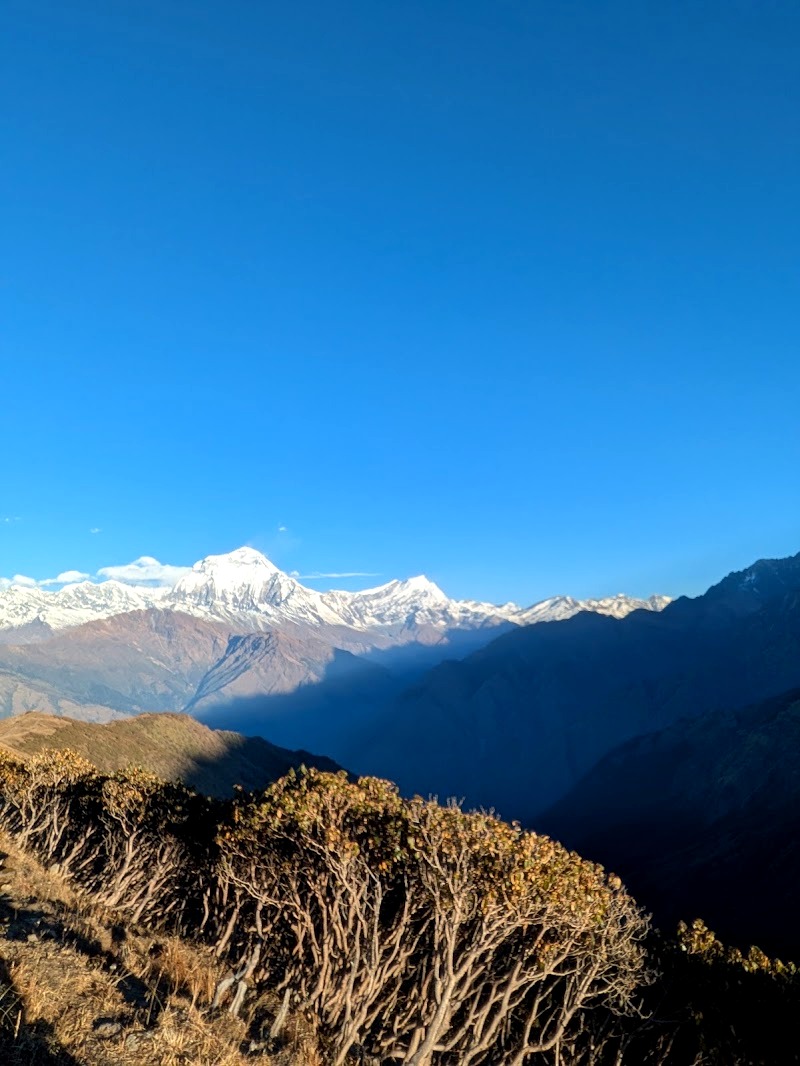
The views. From Muldai Peak and the Khopra ridge you get the southern side of the Annapurna range, including Machhapuchhre (Fishtail) and Annapurna South, plus the Dhaulagiri range. Muldai at sunrise was the single best moment of our whole trip.
Fewer people. There were maybe 20 other people at Muldai Peak for sunrise. Ghorepani, on the popular Poon Hill route, felt far busier by comparison.
Variety. In eight days you go from hot, terraced farmland and Gurung villages, through rhododendron forest, up onto high, scrubby pasture where yaks wander across the path, along mountain ridges, and back down through more villages. It never felt repetitive.
Manageable altitude. The highest you sleep is around 3,660m. That’s high enough to feel it (we did), but well below the 4,000m-plus of Annapurna Base Camp or the 5,400m-plus of the Circuit’s Thorong La pass.
Poon Hill as a bonus. Our route looped back via Ghorepani, so we got the famous Poon Hill sunrise too.
What Our Guides Thought
Our guide and porter have done all of the Annapurna treks, and they rated Khopra Danda amongst the best of them. They found the base camp treks a bit of a grind, partly because you walk back the same way. The other trek that they liked in the area was Mardi Himal. For a short trek that still has great views, they pointed people to Poon Hill.
Who It’s Not For
If you want to say you’ve stood at a base camp, or you’re after serious altitude, this isn’t your trek. If you need hot showers and en-suites every night, be warned: a few of the teahouses are very basic.
Khopra Danda vs Annapurna Base Camp: Why We’d Choose Khopra
Annapurna Base Camp (ABC) is the region’s most famous trek, so it’s the obvious alternative. Both are brilliant. Here’s how they compare, and why we’d pick Khopra.
| Khopra Ridge trek | Annapurna Base Camp trek | |
|---|---|---|
| Highest point | Khopra Danda, about 3,660m (Khayar Lake side trip, around 4,600m) | Annapurna Base Camp, 4,130m |
| Typical length | About 4 to 9 days from Pokhara | About 6 to 14 days |
| Route shape | A loop: you rarely retrace your steps | Mostly out and back up the same valley, with a slightly different way down |
| Crowds | Quiet: about 20 people at Muldai Peak for sunrise | Thousands of trekkers in a single season |
| The big view | Panoramas across both the Annapurna and Dhaulagiri ranges from high ridges | Standing inside the Annapurna Sanctuary, a ring of huge peaks |
| Bonus | Poon Hill sunrise on the way out | Hot springs at Jhinu Danda on the way down |
| Hazards | Landslide-damaged paths in places | An avalanche zone below Machhapuchhre Base Camp, with higher risk in winter |
Why We’d Choose Khopra
- It’s quieter. ABC sees thousands of trekkers every season. We shared the best sunrise of our trip with about 20 people.
- It’s a loop. Almost every day is new trail. Walking back the same way was exactly what our guides didn’t enjoy about the base camp treks.
- The views are wider. From Muldai and the Khopra ridge you look out across both the Annapurna and Dhaulagiri ranges at once.
- It’s kinder on altitude. Khopra tops out around 3,660m, against 4,130m at ABC, and the optional Khayar Lake trip lets you go higher only if you’re feeling good.
- You can do it in less time. With jeeps at either end, shorter versions of Khopra take as little as four days from Pokhara (see below).
When ABC Is the Better Choice
If you want to stand inside the Annapurna Sanctuary, right beneath Annapurna I, or you simply want to say you’ve reached a base camp, ABC is the trek for you. The hot springs at Jhinu Danda on the way down are a bonus too. Just go in spring or autumn, check avalanche conditions, and expect company.
Khopra Danda Trek Cost, Booking and What’s Included
We booked through Nepal Wilderness Trekking, a Kathmandu-based company, and paid US $650 each for a 9-day itinerary. We’d recommend them: everything ran smoothly, and our guide Bhim and porter Nima were brilliant.
What Our US $650 Included
- Trekking permits
- Transport to and from the trailhead
- A licensed guide and one porter for the two of us
- Three meals a day: one main meal at breakfast, lunch and dinner
- Teahouse accommodation, arranged by our guide each day
- Kit on loan: two kit bags, sleeping bags rated to -25°C, warm jackets for high altitude, microspikes for snow, and trekking poles
A porter carries up to 18kg, which is two people’s kit bags. Ours came to about 12kg, and we weren’t missing anything.
What It Didn’t Include
- Drinks (including bottled water)
- Wi-Fi, hot showers and phone charging at the teahouses
- Snacks
- Entry fees at the viewpoints: 100 NPR at Muldai Peak and 150 NPR at Poon Hill when we went
- Tips for your guide and porter (see below)
- Travel insurance
Bring plenty of cash in small notes. Don’t count on finding a cash machine on the trail, and almost everything extra is paid for in rupees.
Permits and the Guide Rule
Since 1 April 2023, foreign trekkers in Nepal’s national parks and conservation areas, including the Annapurna Conservation Area, must be accompanied by a licensed guide booked through a registered agency. You’ll also need an Annapurna Conservation Area Permit (ACAP), which costs NPR 3,000 for foreign visitors. Your trekking company sorts all of this; our guide simply showed our permits at the checkpoint in Birethanti.
Could You Do It Cheaper?
Possibly, by booking teahouses and food yourself. Some of the teahouses cost as little as NPR 300 for the night when booked directly! But you’d still need to hire a licensed guide, and for us, having everything organised (including where to stop for lunch and which lodge had space) was worth every penny.
Travel Insurance for the Khopra Ridge Trek
Don’t trek without insurance that specifically covers trekking at altitude and helicopter evacuation. A helicopter rescue from the Annapurna region to Pokhara typically costs a few thousand US dollars (our guide estimated $7,000 to $10,000), and that’s before any hospital bills.
What we did. We’d already left the UK by the time we booked the trek, and UK insurers put a massive premium on policies bought while you’re abroad. We were quoted around £400 for the cover we needed. Instead, we bought a policy in Nepal through Himalayan Guardian Nepal for US $109 each, covering two weeks of trekking up to 5,500m.
Our take. We didn’t need to claim, so we can’t tell you how good the claims process is. If you’re already in Nepal and don’t have cover, it’s worth looking at a Nepali provider rather than paying over the odds back home.
What to check on any policy:
- The altitude limit covers the highest point you might reach. If you’re thinking about the Khayar Lake side trip (around 4,600m), you’ll need cover above that.
- Helicopter evacuation and medical repatriation are included.
- Trekking is covered as an activity, with a guide where required.
- There’s a 24-hour emergency phone number, and you’ve saved it in your phone and given it to your guide.
Some trekking companies now ask for proof of insurance before they’ll arrange your permits, so sort it before you set off from Pokhara.
Getting to the Start: Pokhara to Birethanti
The trek starts and finishes near Pokhara, so you’ll need to get there first. We drove from Bhaktapur, just outside Kathmandu (eight hours by private jeep), and our How to Get from Kathmandu to Pokhara guide covers every option. We stayed at Mingtang Boutique Cottage in Lakeside, which stored our big bags for free while we trekked; see our Where to Stay in Pokhara guide for more.
On the first morning, our guide and porter met us at our guesthouse at about 8am with the kit bags and loaned gear. We packed everything we wouldn’t need during the day into one kit bag for the porter, and set off by car.
Nayapul or Birethanti? These are the two trailheads. Nayapul is the bigger town; Birethanti is about 2km further on, right on the river where the valley leads up into the trekking region. It’s an hour to an hour and a half’s drive from Pokhara.
Birethanti is as far as an ordinary car can go, but jeeps can continue further up the trail. Some trekkers walk the extra 2km from Nayapul, while others take a jeep higher up and start the trek further on. As we were in a car, we were dropped at Birethanti.
It’s quite chaotic there, with cars and jeeps coming and going, but there are plenty of lodges and you can grab a coffee while your guide shows your permits at the checkpoint.
Day 1: Birethanti to Ghandruk
Distance: about 12 km · Time: about 5 hours · Altitude: 1,025m to 1,940m (roughly 1,000m of climbing)
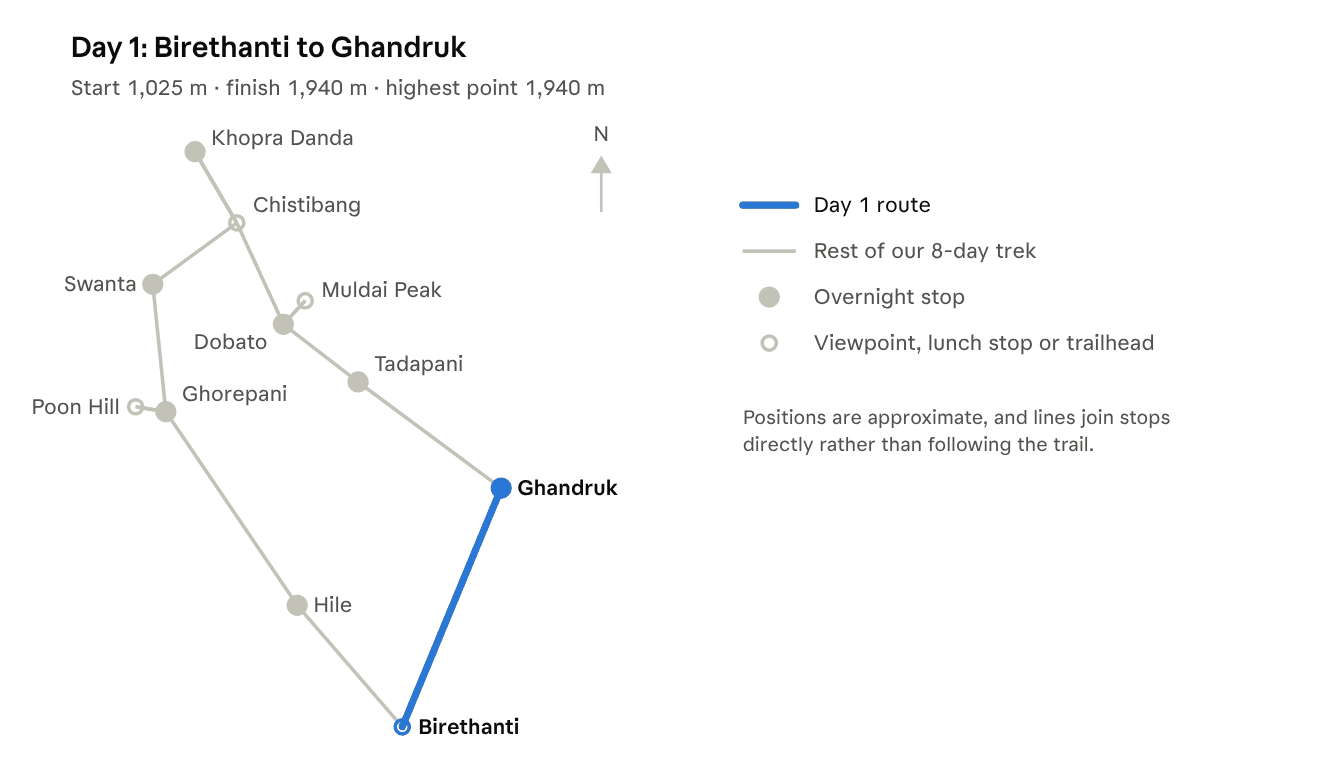
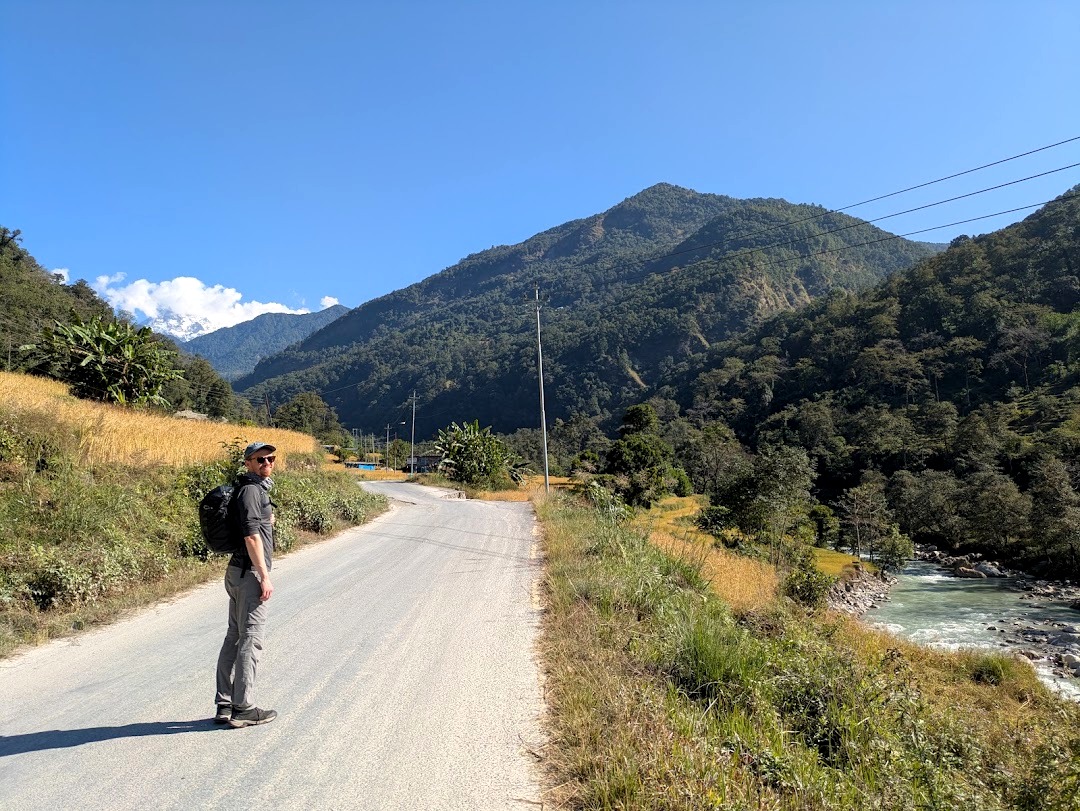
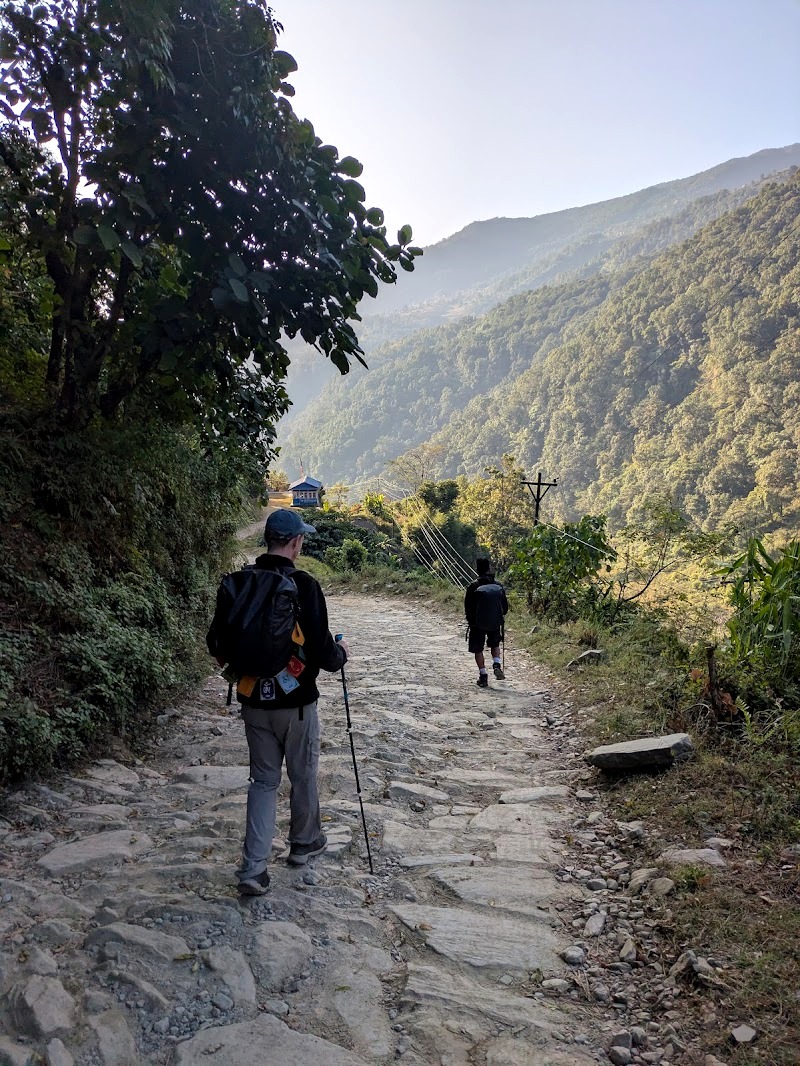
The first day is a steady climb through farmland and villages, with a lot of stone steps. Part of the way follows the jeep track (several jeeps overtook us, full of people who’d rather not do quite so much walking), and part of it winds through farmland and up through local villages.
We started walking from Birethanti around 10am, stopped for momos at a lovely lunch spot overlooking the valley, and reached Ghandruk at about 3pm.
It was baking hot. Birethanti was a little chilly first thing, but that’s misleading: it’s just a few cool spots, and most of the day you’ll be warm. We could easily have walked in a t-shirt and shorts. Sunglasses and sun cream are essential.
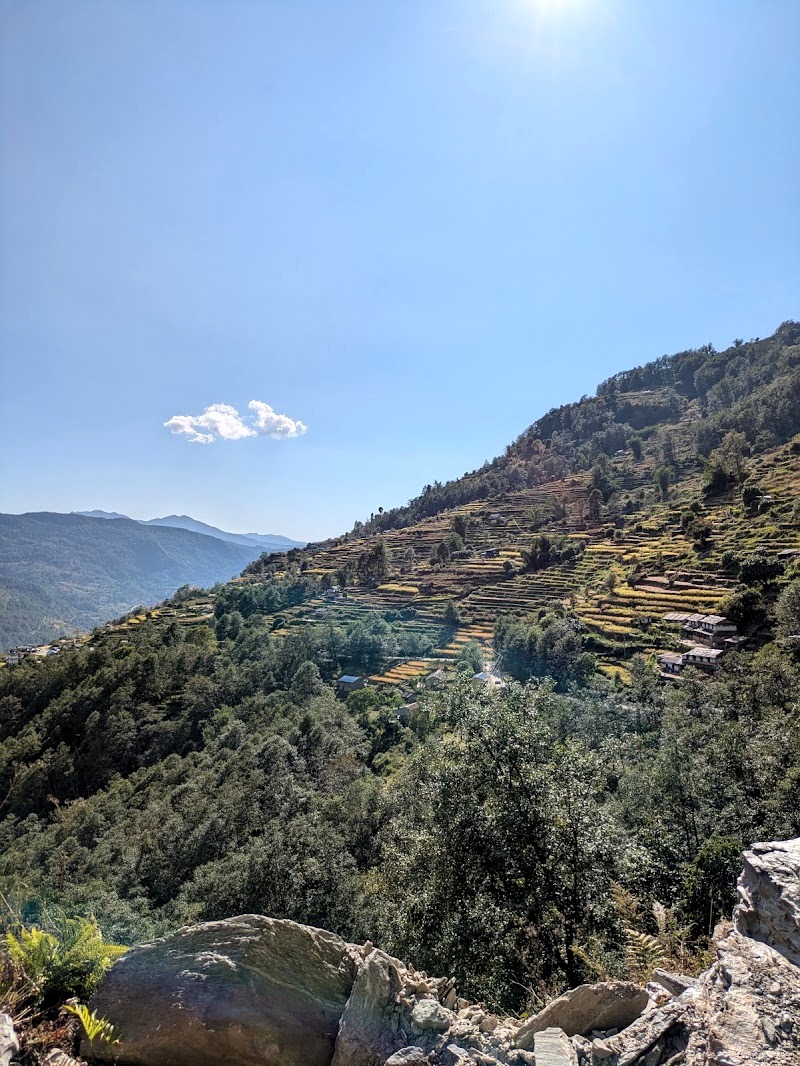
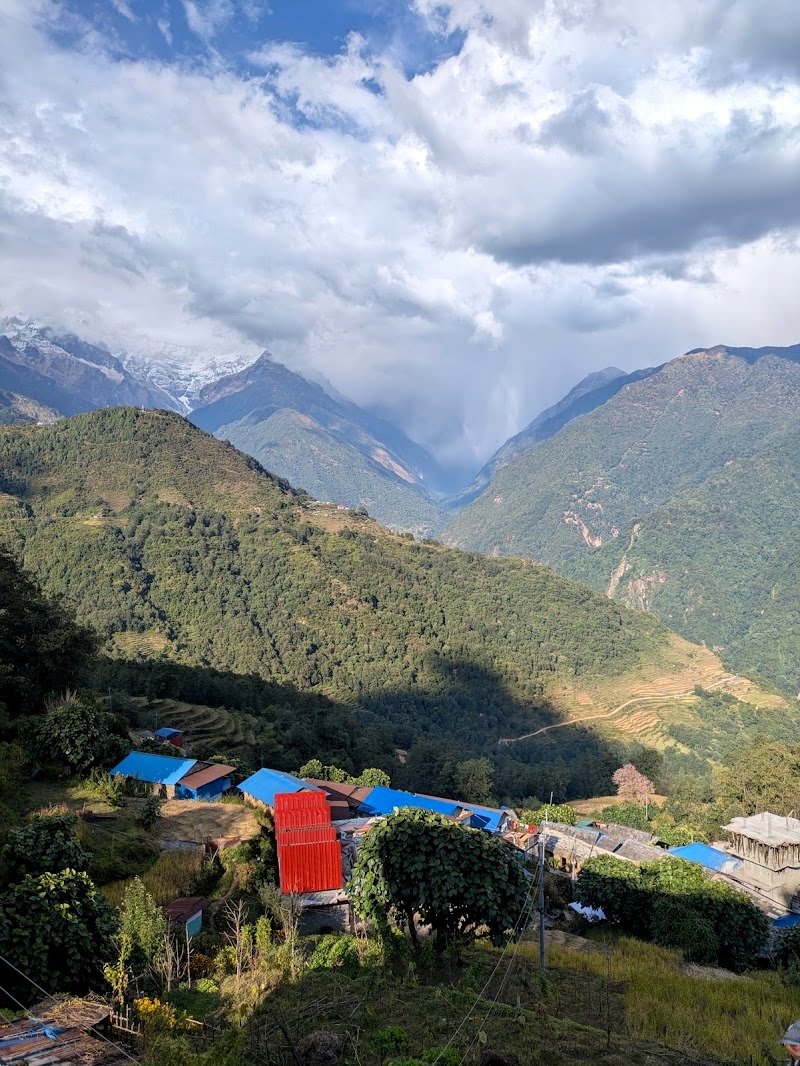
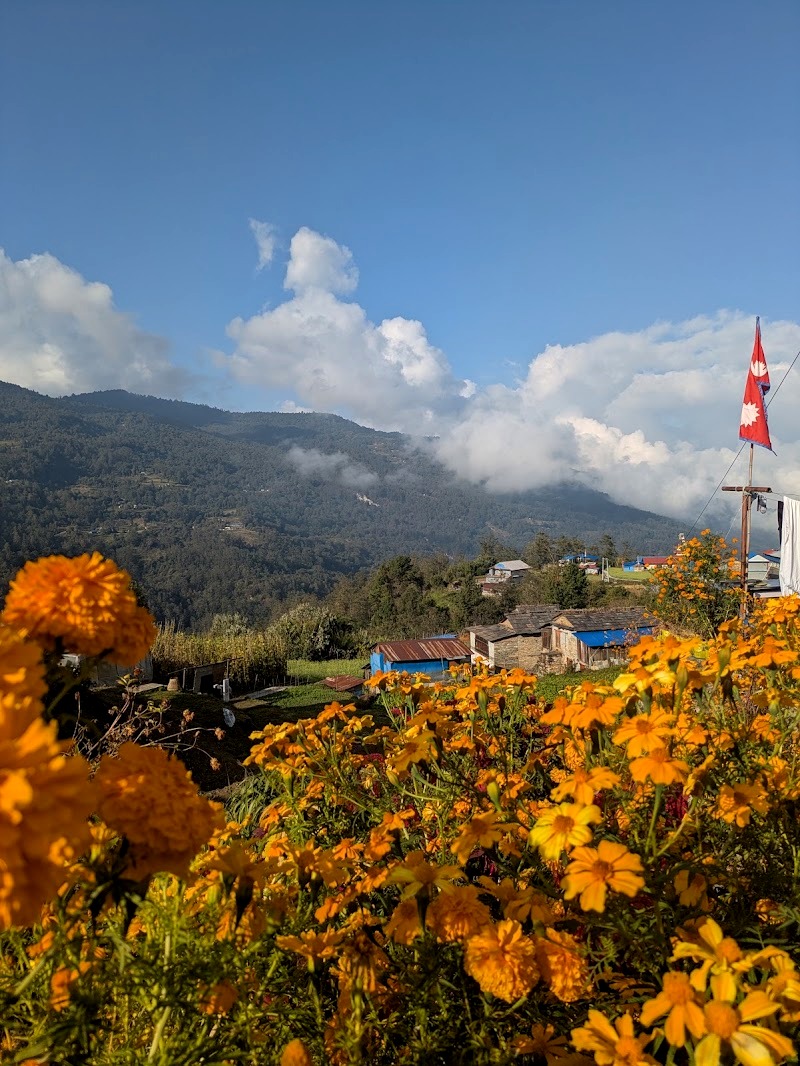
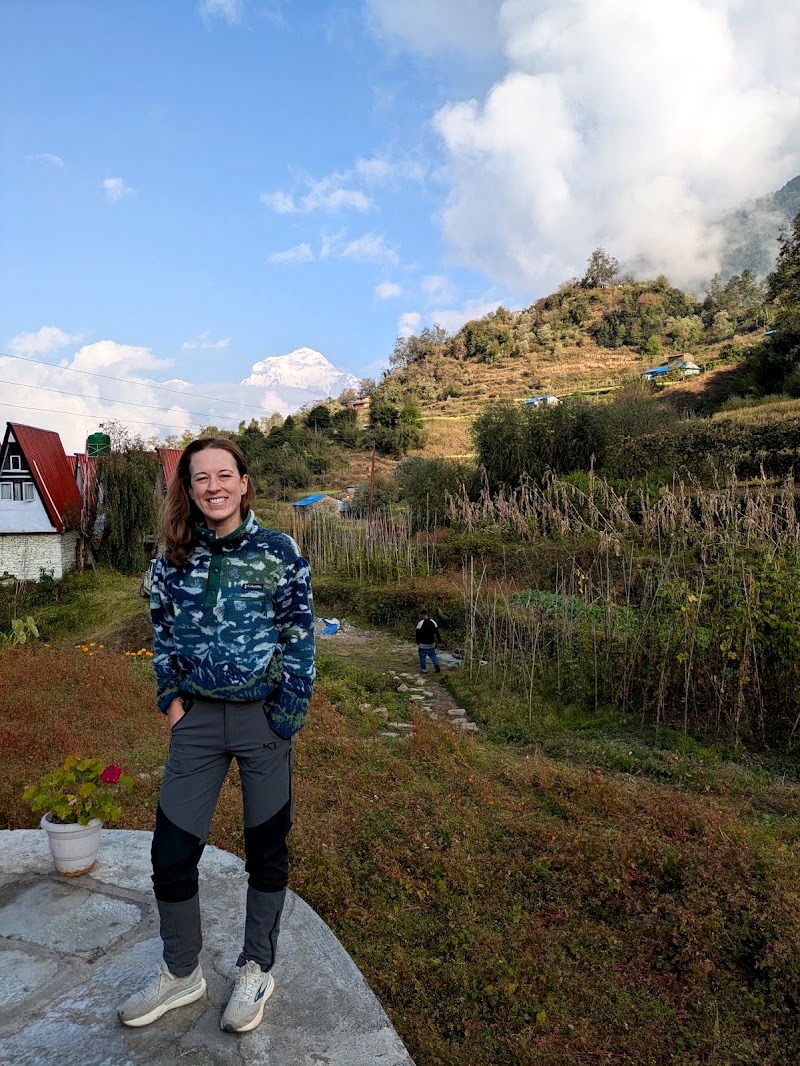
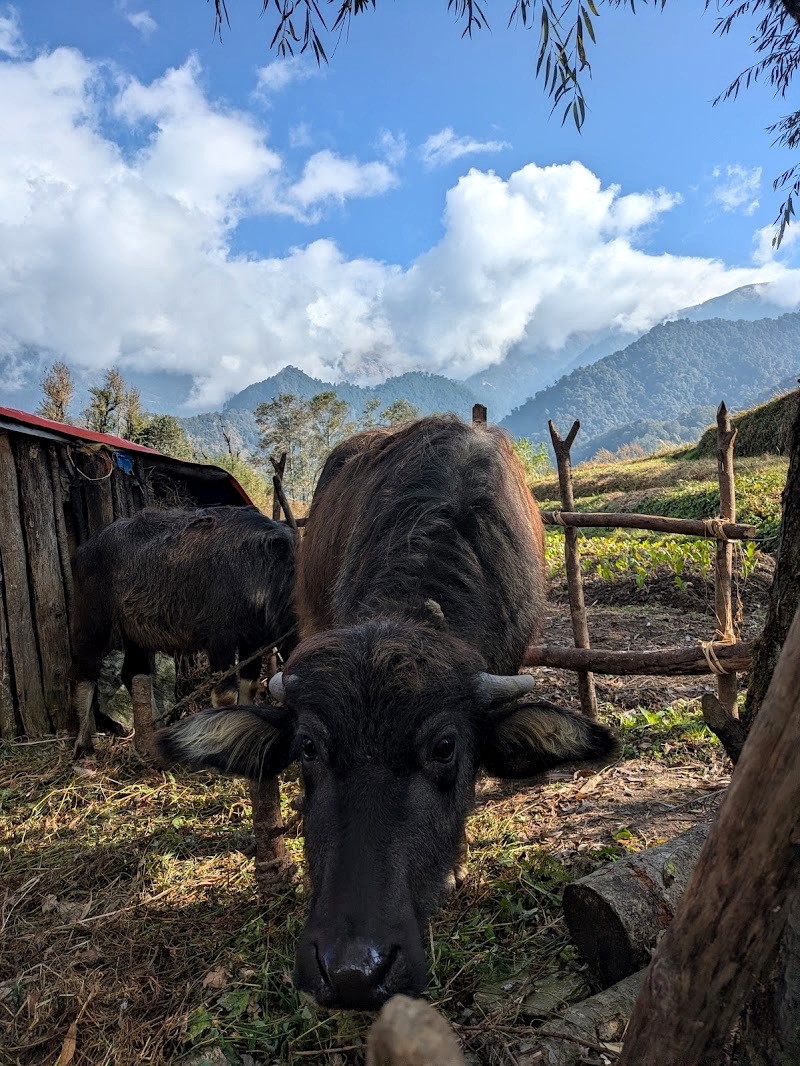
Village life. This was one of the best days for seeing rural Nepal up close. The villagers are mostly farmers who also run restaurants and guesthouses for trekkers. They grow rice, millet and squash, and keep water buffalo, chickens and goats. We were there at harvest time, so the rice terraces were all golden, curry leaves were laid out drying, and people were out working in the fields. We also saw black-faced langur monkeys, lots of kids and plenty of goats.
How hard was it? It isn’t technical, but there are a lot of steps, and five hours of mostly uphill with 1,000m of climbing felt like quite a lot. We didn’t actually get much practice in before this hike, so felt a bit unfit!
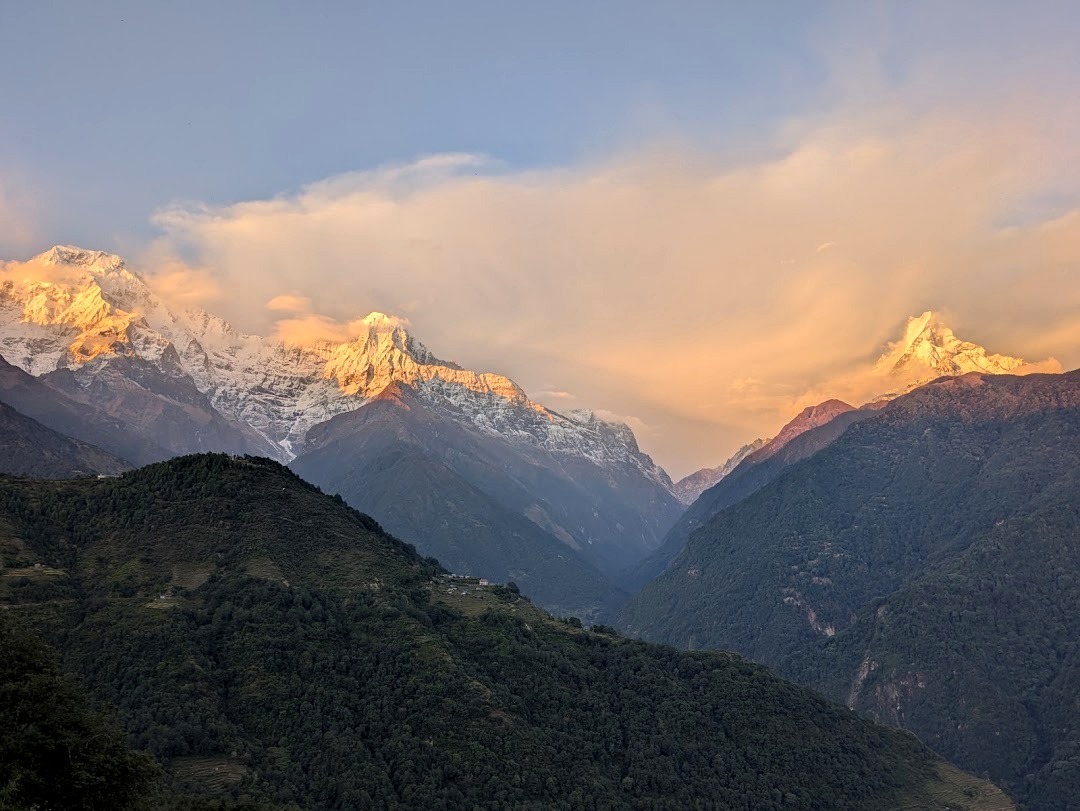
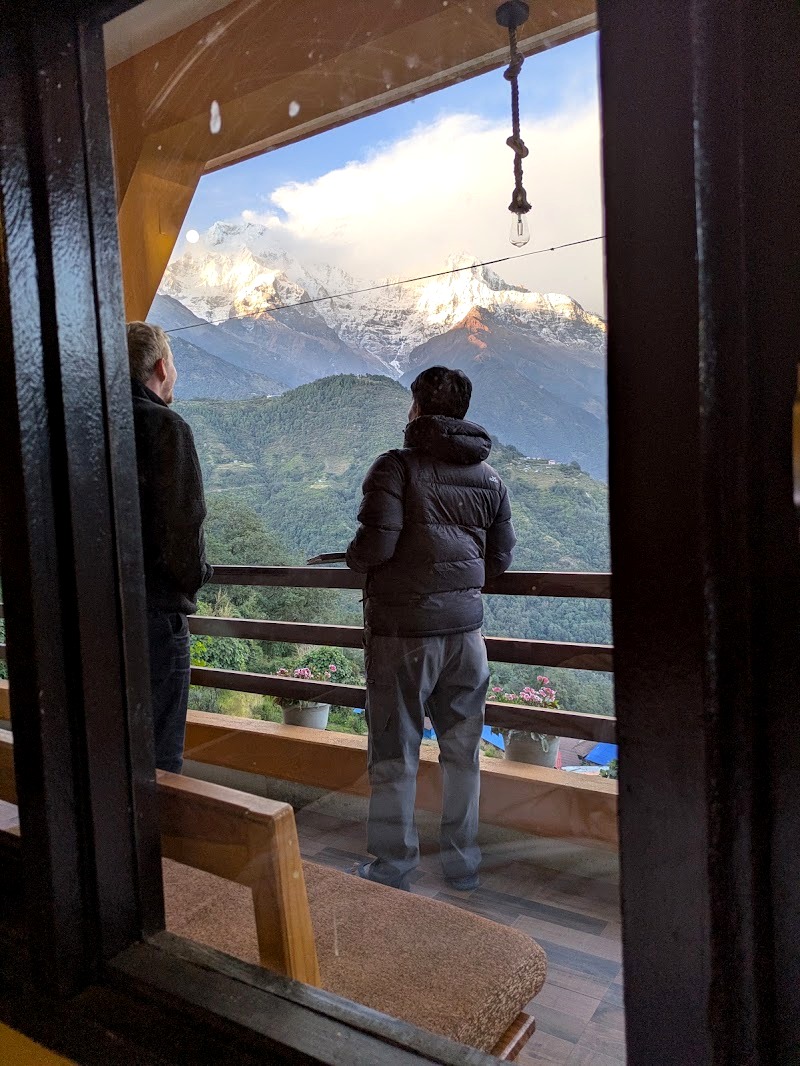
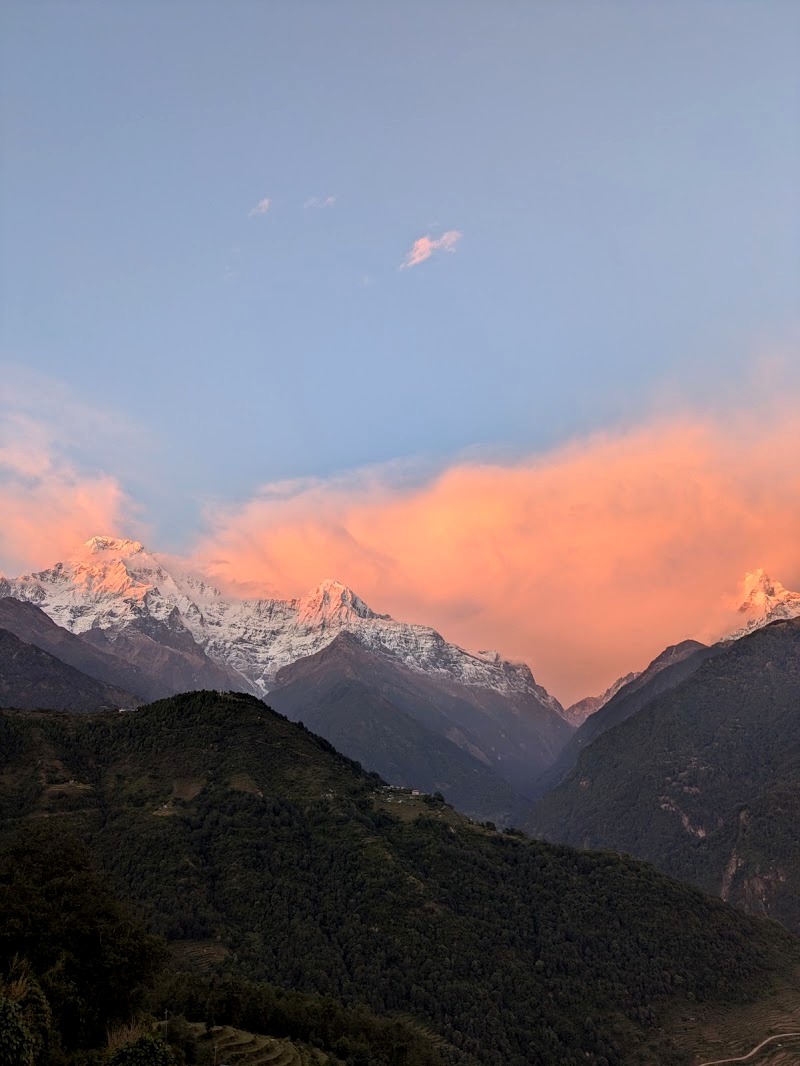
Ghandruk. This is the last place you can reach by jeep on this side of the mountain, and it has excellent views of the Annapurna range, including Machhapuchhre (Fishtail). Lots of Nepali visitors take a jeep up and stay the night. It’s a relatively big village of 30 or 40 buildings, most of them hotels, some in the old stone style and some newly built.
We stayed somewhere newly built, which our guide was extremely excited about. We didn’t fully appreciate why at the time, but he knew what was coming! We had a double bed and our own en-suite with a Western toilet and a cold but functional shower. Dinner was our first dal bhat of the trek (more on that later).
Day 2: Ghandruk to Tadapani
Distance: about 7 to 8 km · Time: about 3 hours · Altitude: 1,940m to about 2,630m (roughly 650m of climbing)
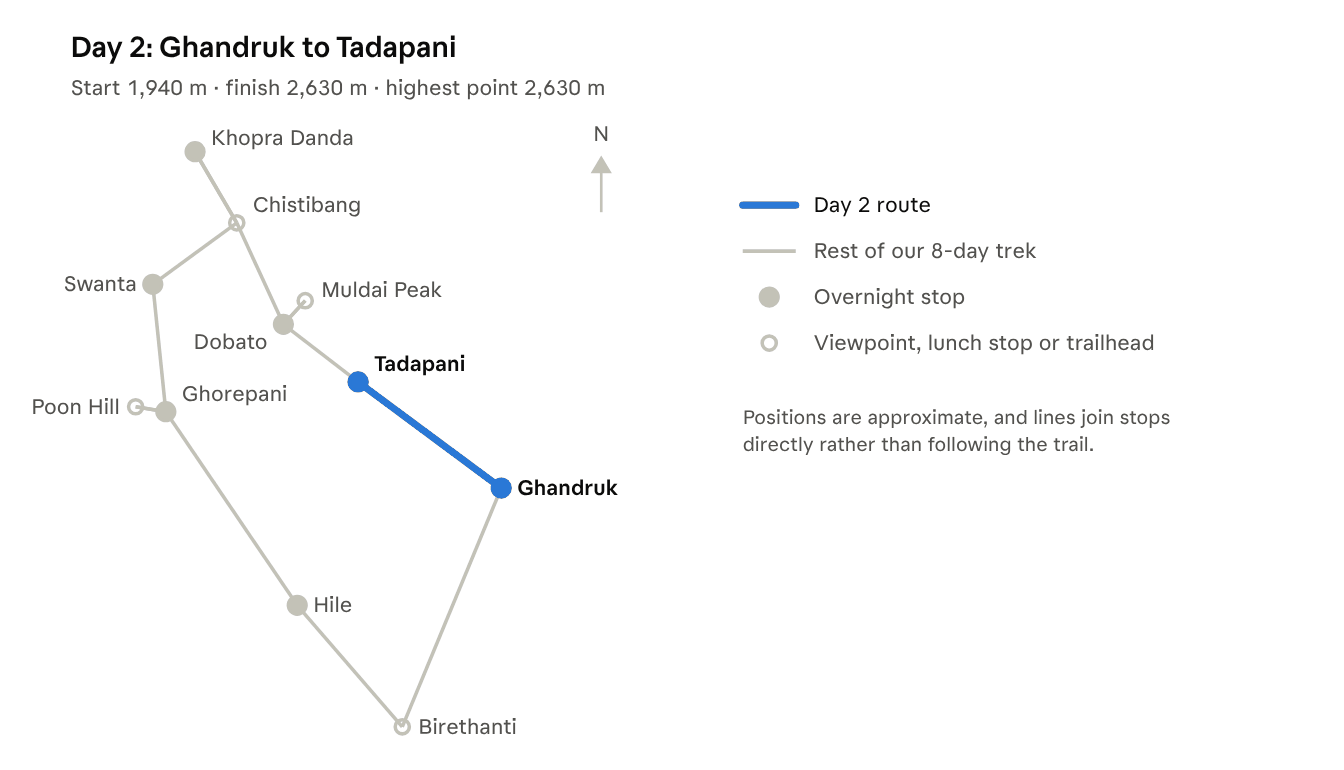
Day 2 is deliberately short. Altitude sickness can start to kick in above about 2,500m, so a gentle day helps your body start to adjust before the bigger climb tomorrow.
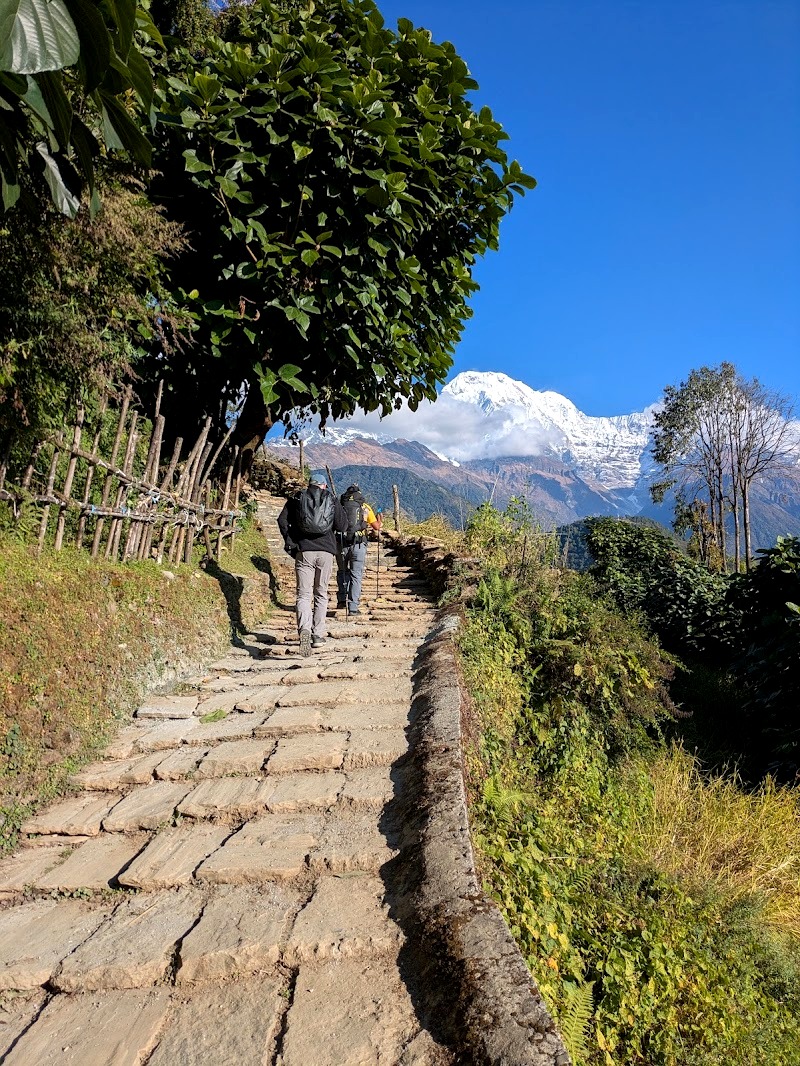
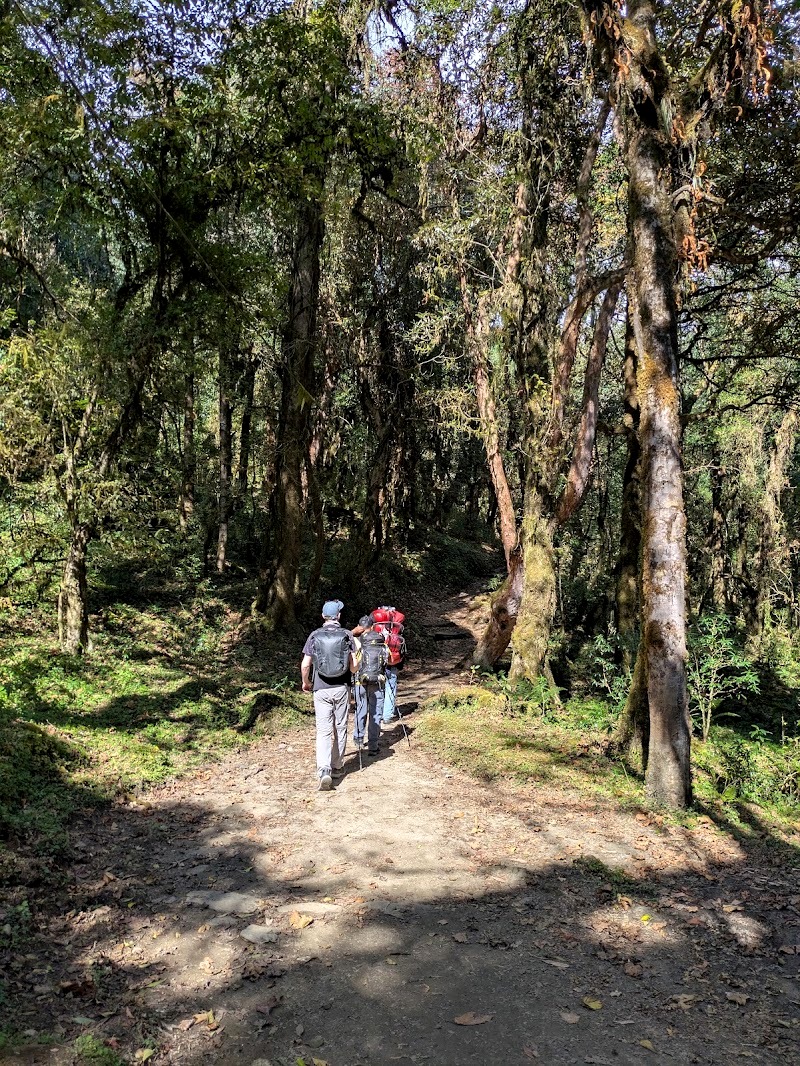
The walk climbs almost entirely through rhododendron forest. In spring, when the rhododendrons are in bloom, this must be spectacular. In November, honestly, it wasn’t one of the better days of the trek: the trees hide most of the views, and there isn’t much to look at while you’re walking. It was still pleasantly warm.
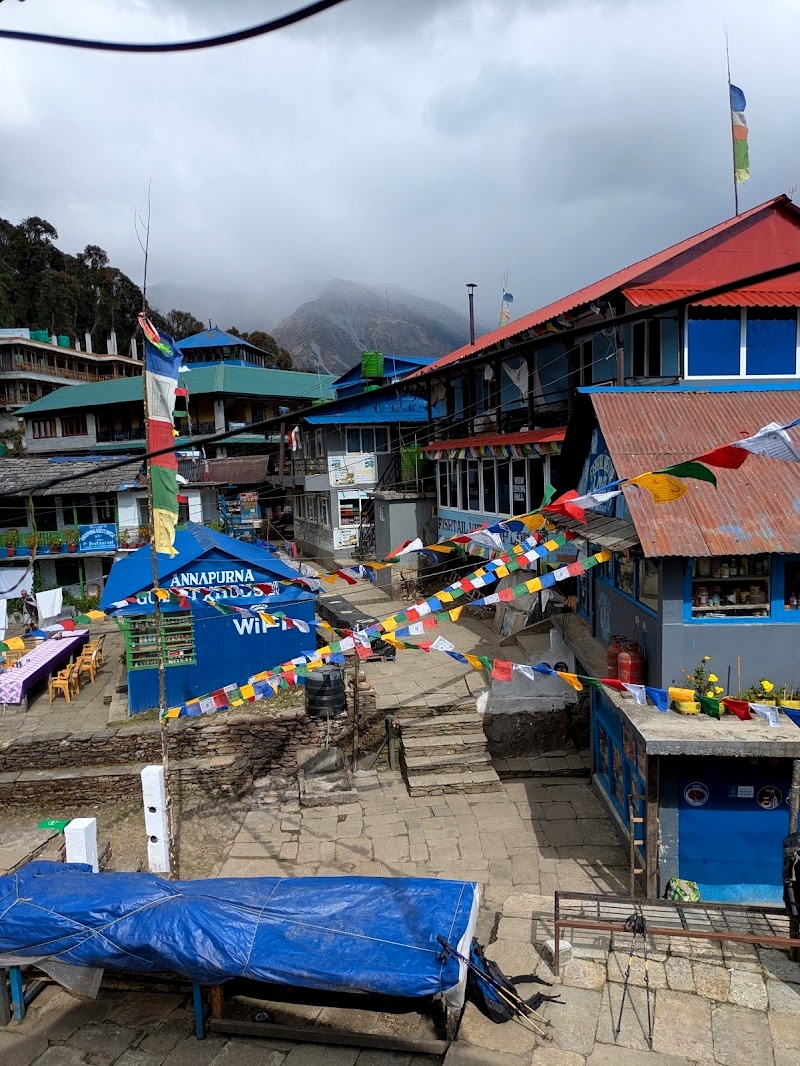
Tadapani. The village sits where several Annapurna trekking routes meet, so you’ll see people heading off on other treks too. It’s a good taste of the first couple of days of the Annapurna Base Camp and Poon Hill routes, depending on which way you go.
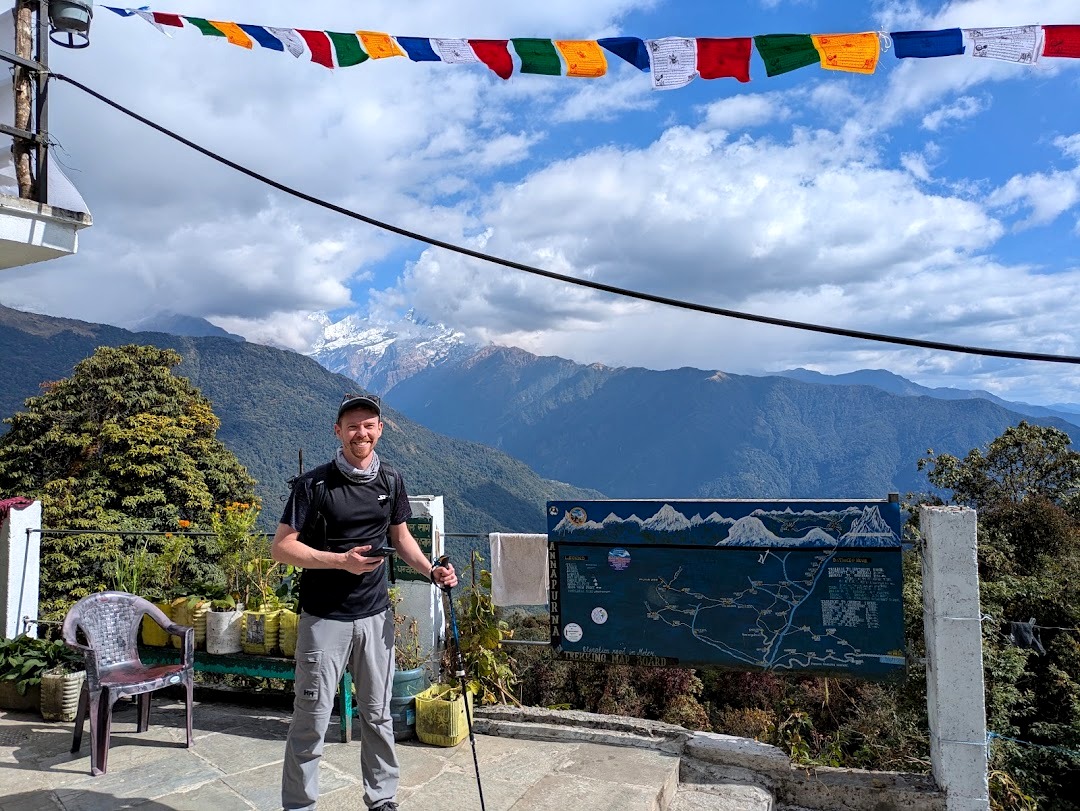
Where we stayed. The accommodation took a step down here. We had a twin room, with the toilet and shower outside. Neither was in particularly good condition; there was a mix of Western and squat toilets.
This is also where we got used to how teahouses work. There’s a communal dining room with a stove, where everyone sits together and eats. At Tadapani they hadn’t lit the stove yet because it wasn’t quite cold enough.
Day 3: Tadapani to Dobato
Distance: about 9 to 10 km · Time: 5 to 6 hours on the itinerary (we were quicker) · Altitude: about 2,630m to 3,420m (roughly 740m of climbing)
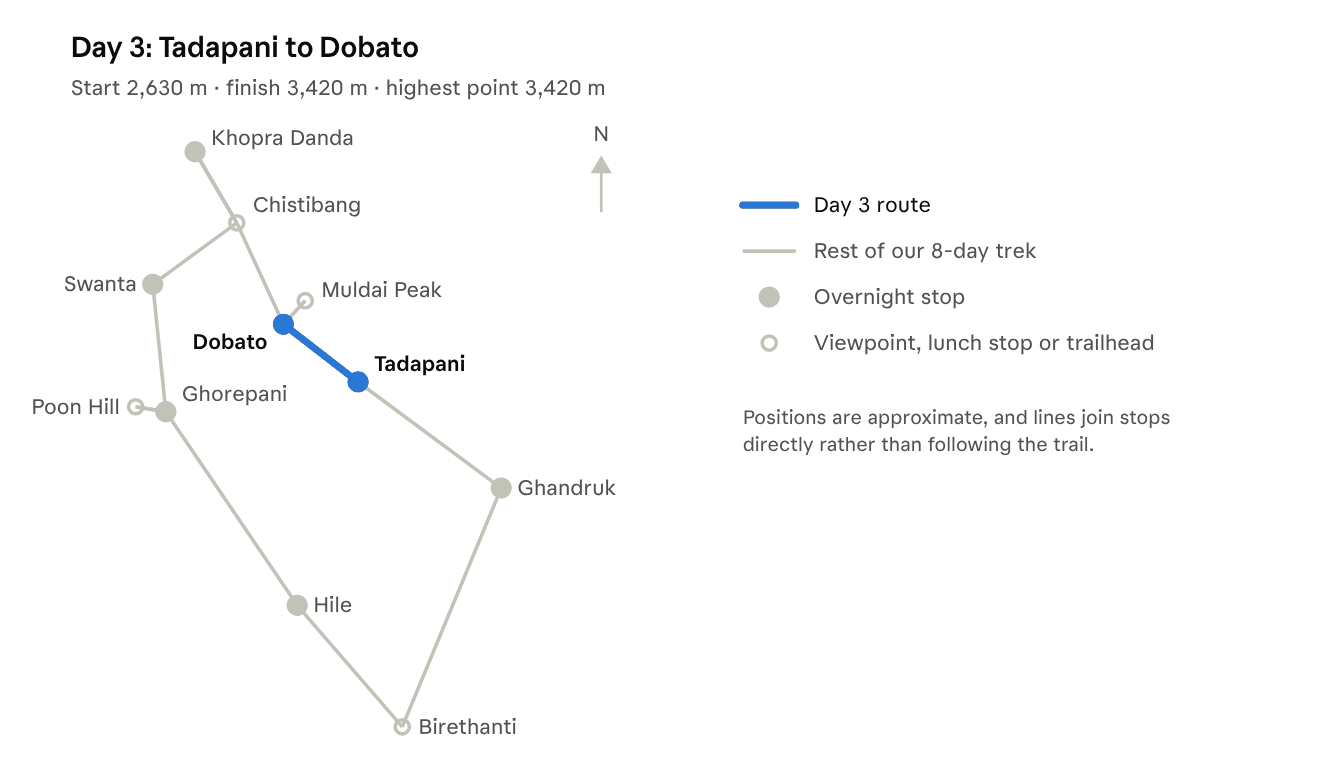
This is the day you leave the crowds behind and climb above the trees.
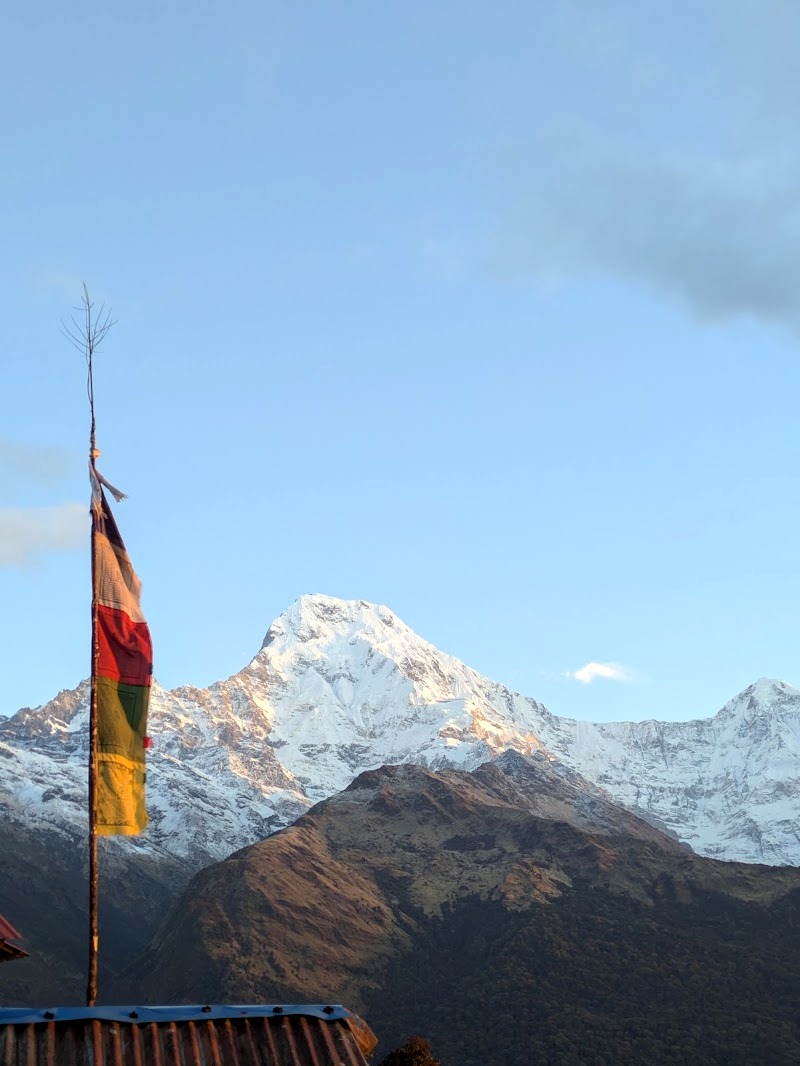
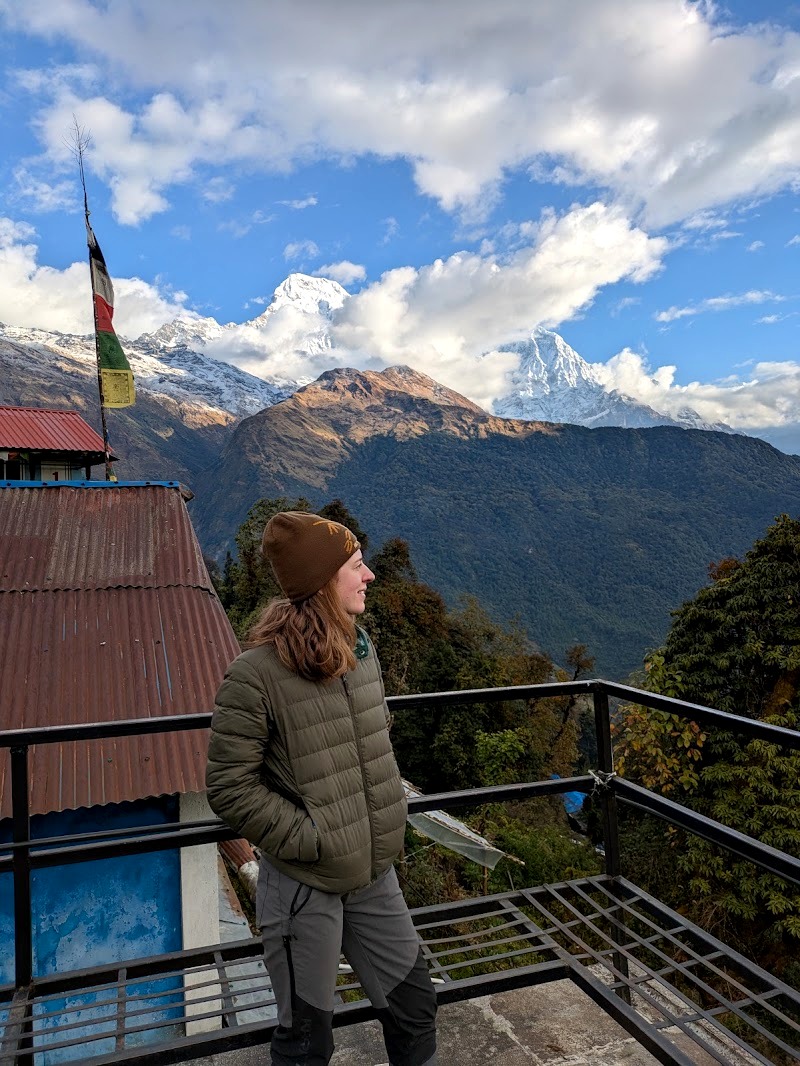
The first couple of hours are more rhododendron forest, which, again, isn’t hugely exciting when it’s not in bloom. Then you clear the tree line at a place called Isharu, which was the highlight of the day. A couple of ladies run a teahouse there, built right on the edge of a valley with a dramatic view. We stopped there for tea.
After Isharu, it started to snow, very lightly. There was no snow on the ground, but it was interesting to experience. The forest gave way to scrubby brushland that reminded us of the high plains of Peru.
By the time we reached Dobato, the fog had come in hard. We had lunch at about 12 to 12:30, which is when lunch happens most days on the trek. The rhythm settles into breakfast at 7:30, lunch at 12:30 and dinner at 6:30, with early starts and early nights.
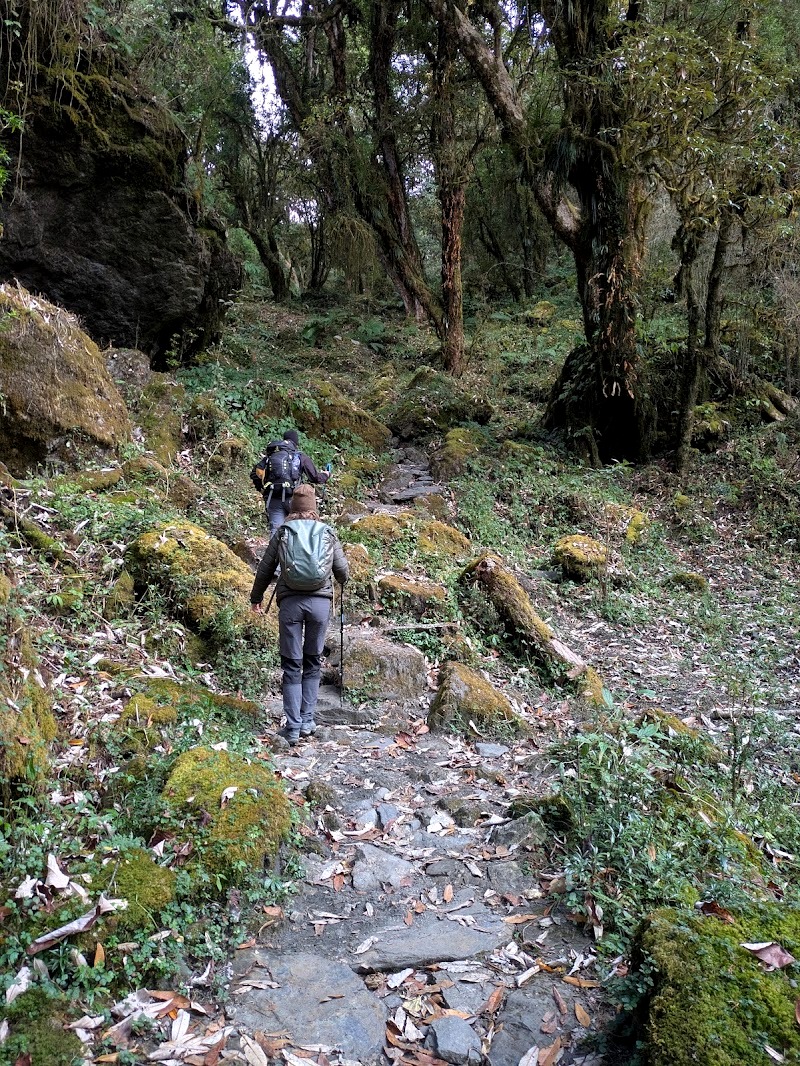
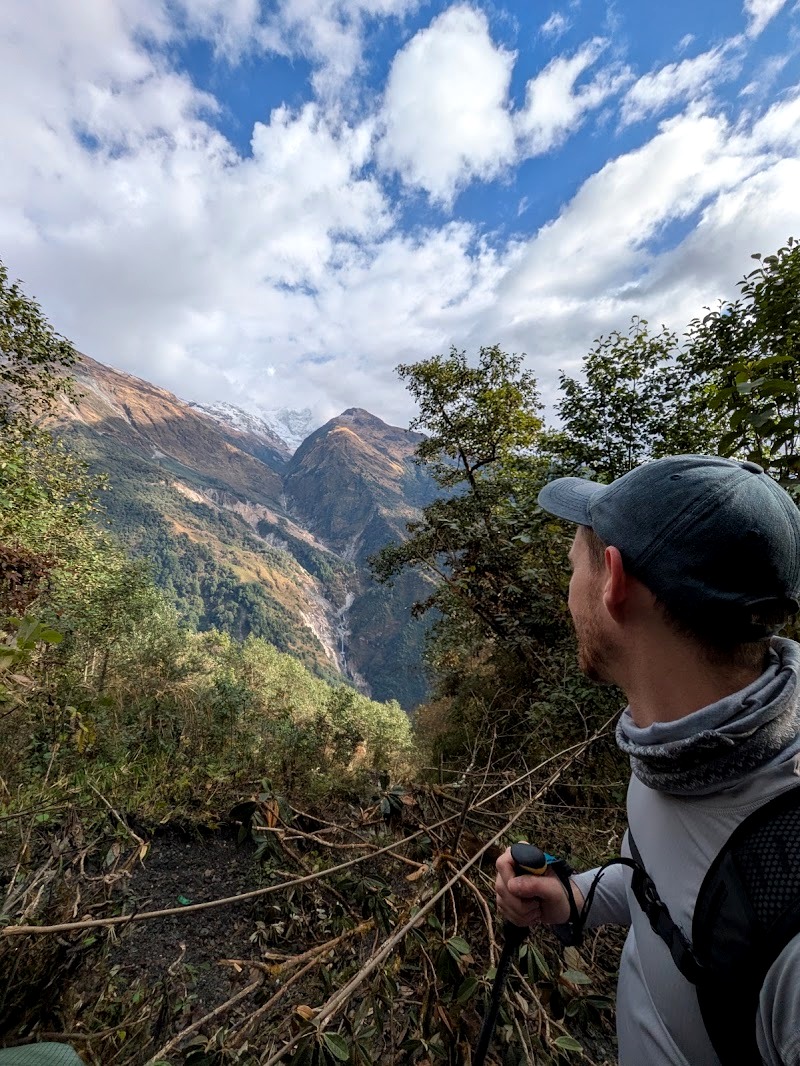
Dobato. It was very cold, and the accommodation was very limited. This was one of the least hygienic places we stayed. There was running water when we arrived but not later on; we think it froze in the pipes overnight.
Things started to go wrong here. Our guide team got sick, we think from the dal bhat at Tadapani (probably old rice). One of us started coming down with a cold. And we both started to feel the altitude: headaches, and a really poor night’s sleep. We didn’t realise at the time that struggling to sleep is a classic altitude symptom, but it explained a lot.
None of this is unusual, but it’s worth knowing that Dobato is where the trek gets real.
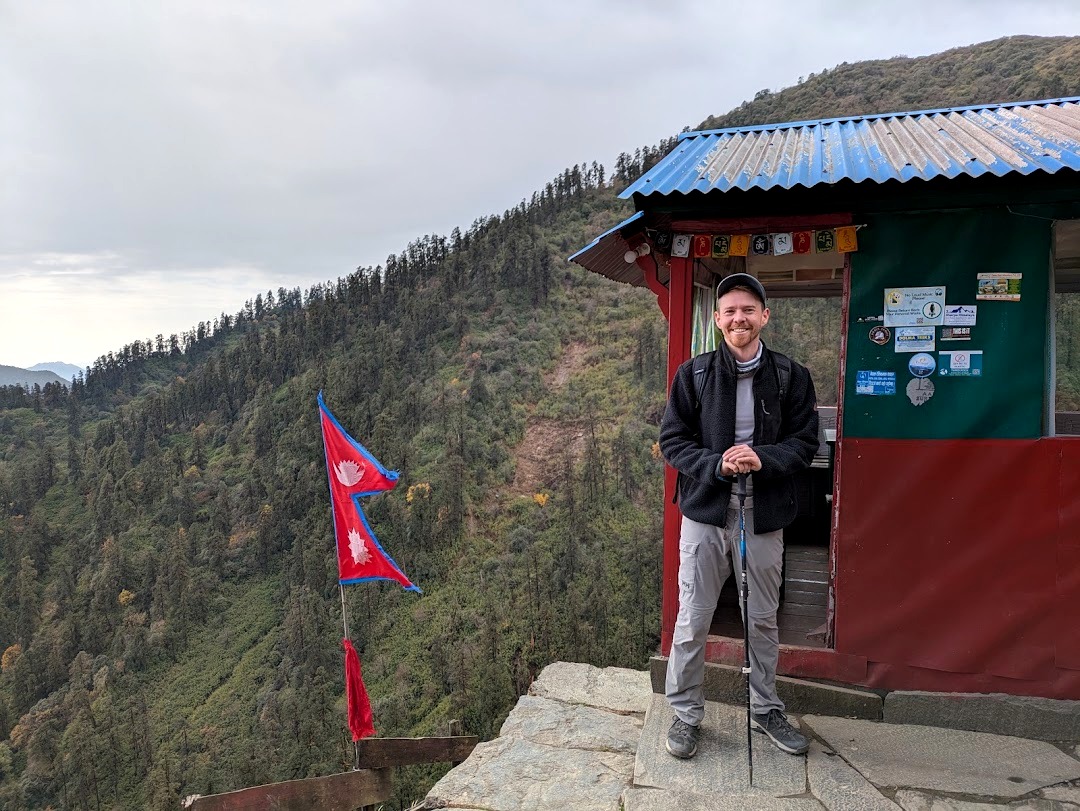
Day 4: Muldai Peak Sunrise, Then Dobato to Khopra Danda
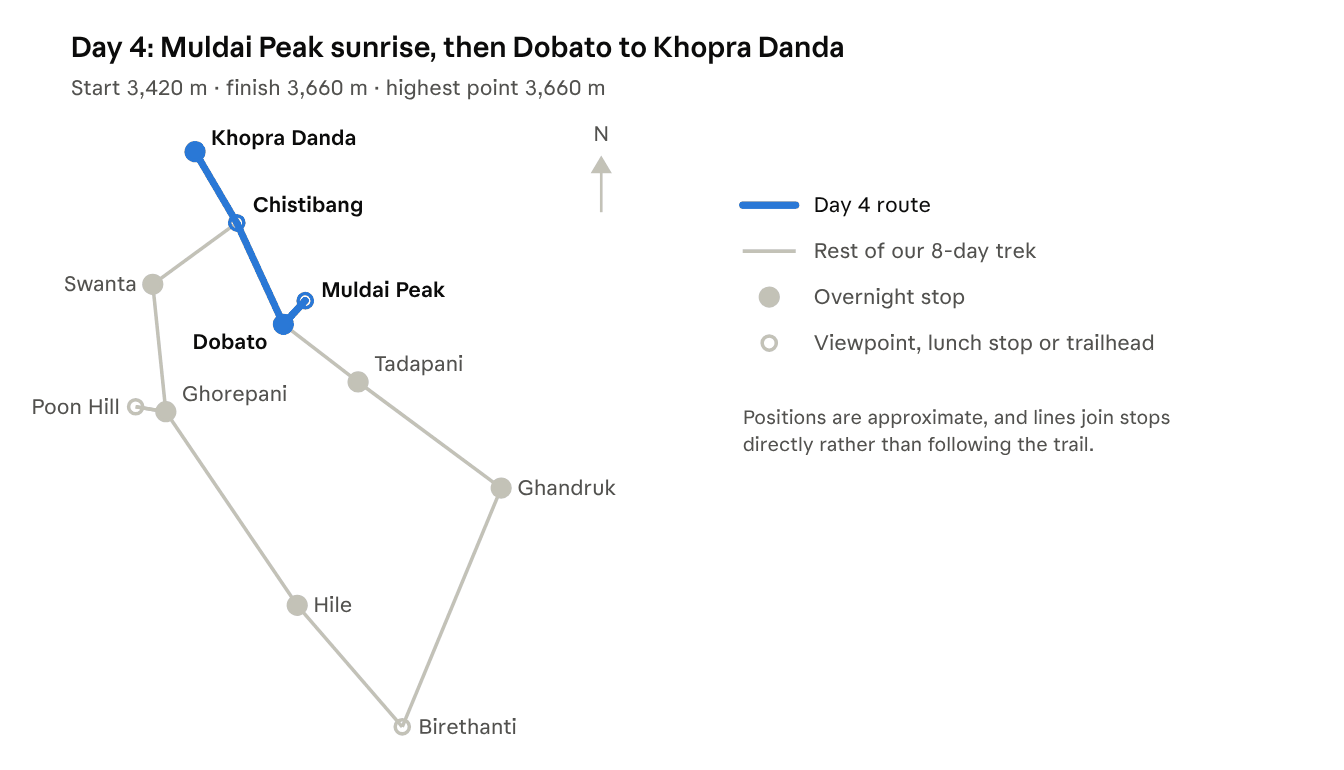
Distance: about 11 to 13 km, including Muldai and back · Time: about 30 minutes up to Muldai, then a full day’s walking · Altitude: up to 3,637m at Muldai Peak, down to about 3,000m at Chistibang, then back up to about 3,660m at Khopra Danda
This was the best day of the trek, and also one of the hardest.
Sunrise at Muldai Peak
We woke at 5 to 5:30am and started climbing straight away. We didn’t have head torches and just used our guide’s, which was completely fine. It’s only about half an hour to the top.
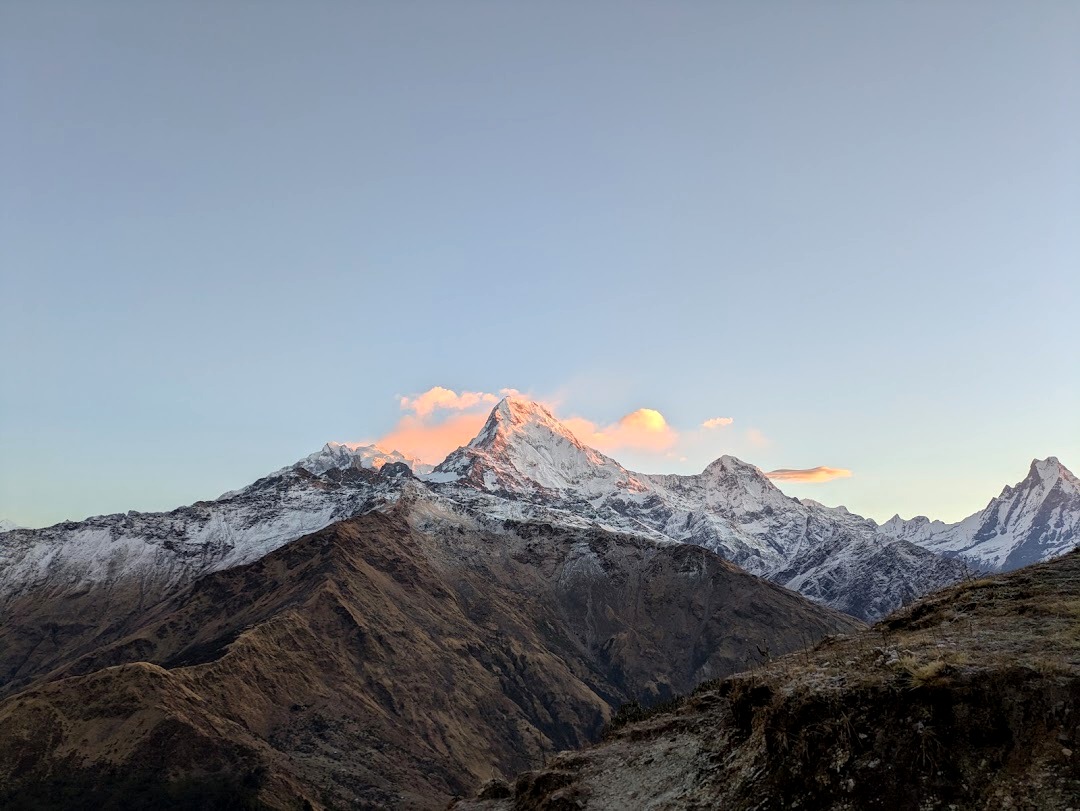
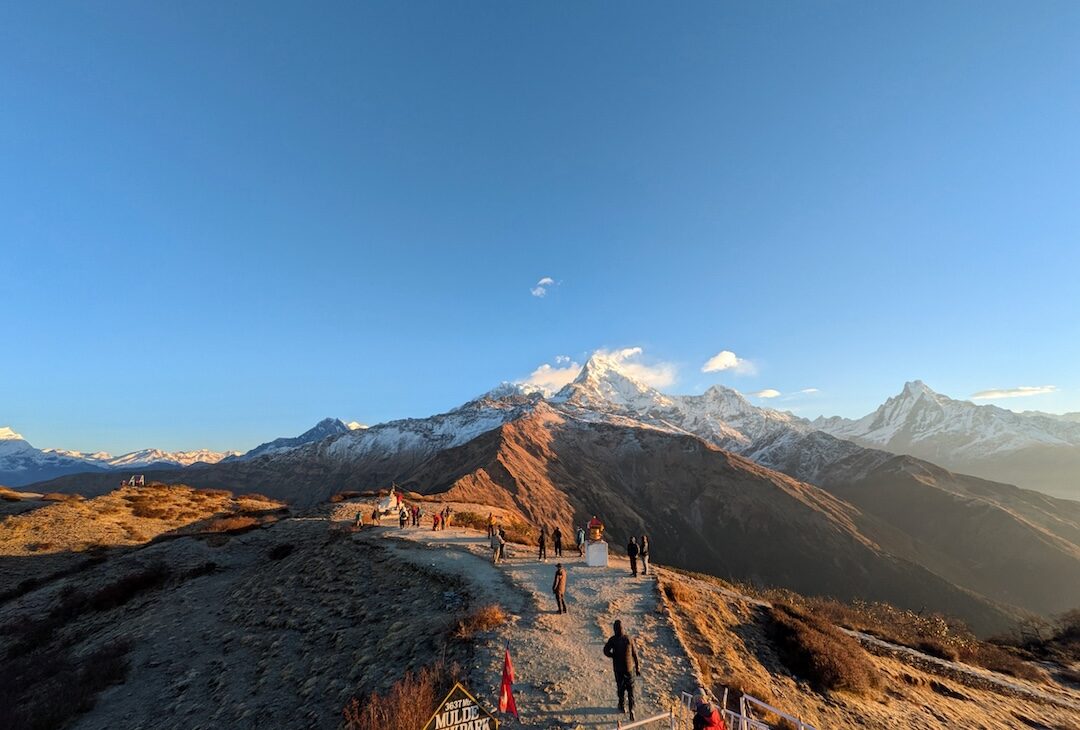
For us, Muldai Peak was the absolute best view of the whole trip. As the sun came up, we could see the southern side of the Annapurna range (Machhapuchhre, Annapurna South and their neighbours) and the Dhaulagiri range too. Our guide, who has been trekking for more than 20 years, says it’s the best view in Nepal. His second favourite is Pikey Peak in the Everest region, which gives you a view of Everest rather than a view from it.
One of us felt incredibly sick from the altitude up there, and it was still worth it. It wasn’t crowded either: we’d estimate about 20 other people.
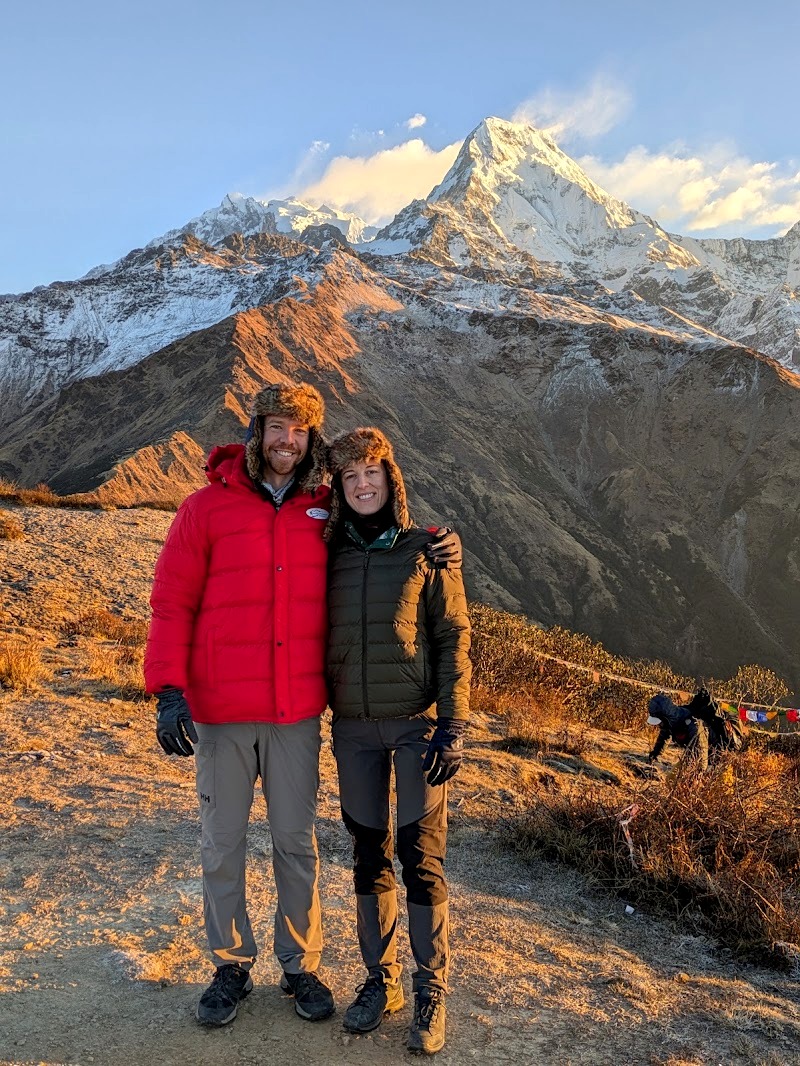
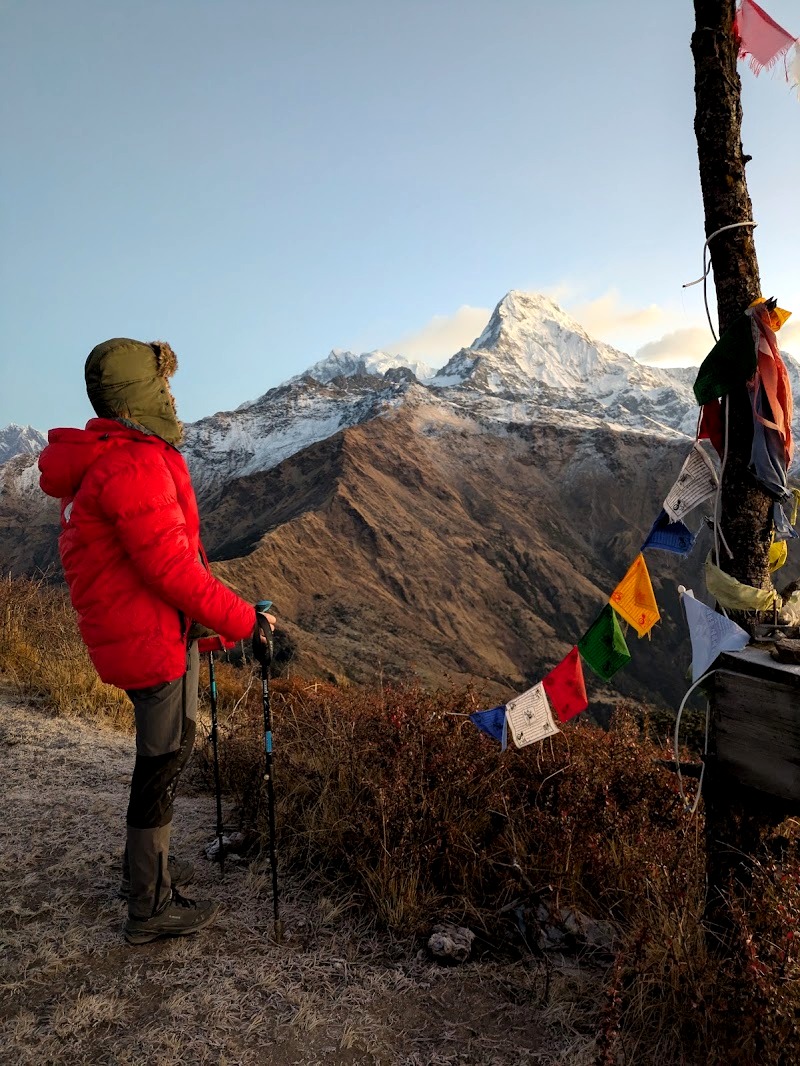
There’s a 100 NPR charge to go up, and they serve tea and coffee at the top. We didn’t bring any money, which was a mistake (we’d definitely have bought a coffee), and had to borrow rupees from our guide to pay the entry fee. Take cash!
Dobato to Chistibang
After Muldai, the walk from Dobato down to Chistibang was the most beautiful stretch of the whole trek. You walk along the side of the mountains on narrow paths that wind along the ridges, with views the whole way, dropping from about 3,600m to 3,000m.
We’d planned to stay at Chistibang, but the lodge was fully booked by the time we arrived, so we had lunch there with a nice group of other trekkers instead. The lodge is a real sun trap, and it was lovely to warm up. Walking down all morning had pretty much cured our altitude sickness.
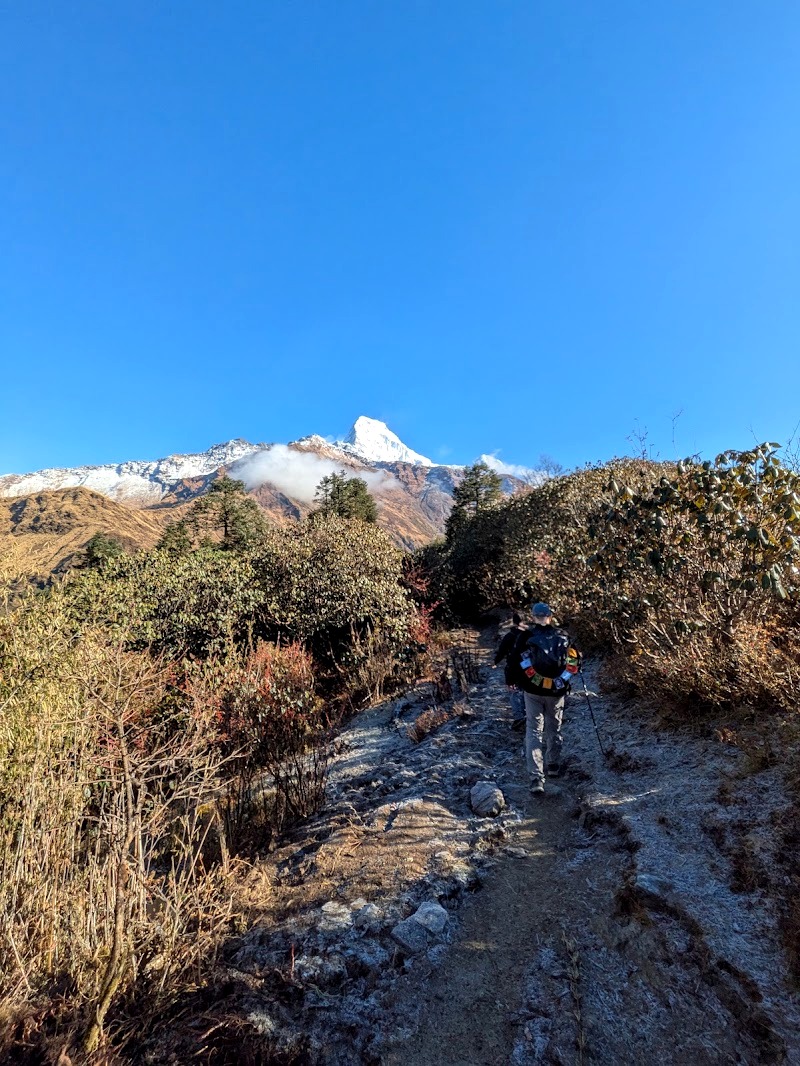
Why guides start early. Accommodation on the trail is only loosely booked ahead, and lodges fill up. It isn’t unusual for trekkers to reach a stop and have to keep going. It wasn’t a problem for us because the weather was good, but it meant doing the next day’s walk on the same day.
Chistibang to Khopra Danda
The climb from Chistibang to Khopra Danda is steep: about two and a half hours of switchbacks, back up to around 3,660m.
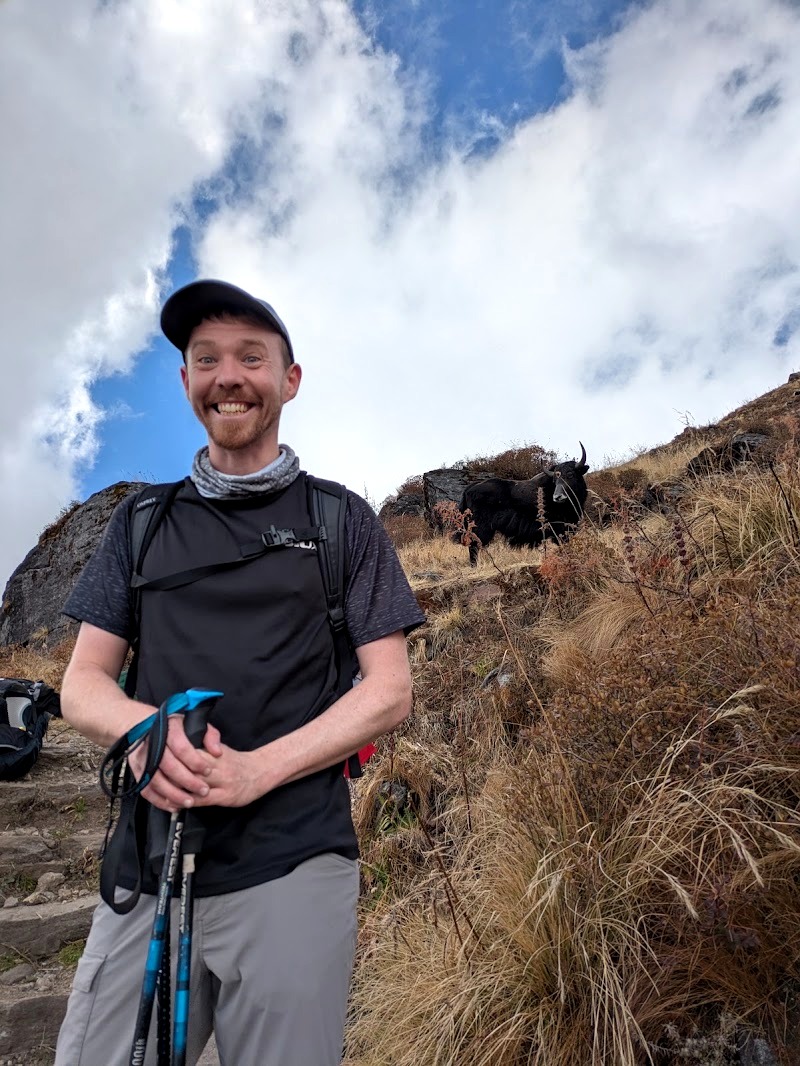
The great thing about this section is the yaks. They’re everywhere, right on the path at this altitude, and we loved watching them. They’re domesticated, and yak herders live in this part of the mountains, moving around depending on where the best grazing is.
Khopra Danda High Camp. This is very, very basic accommodation, but it’s more hygienic than Dobato and has a much better vibe. The communal stove is set up so that everyone sits around it together, which makes the evenings sociable and warm.
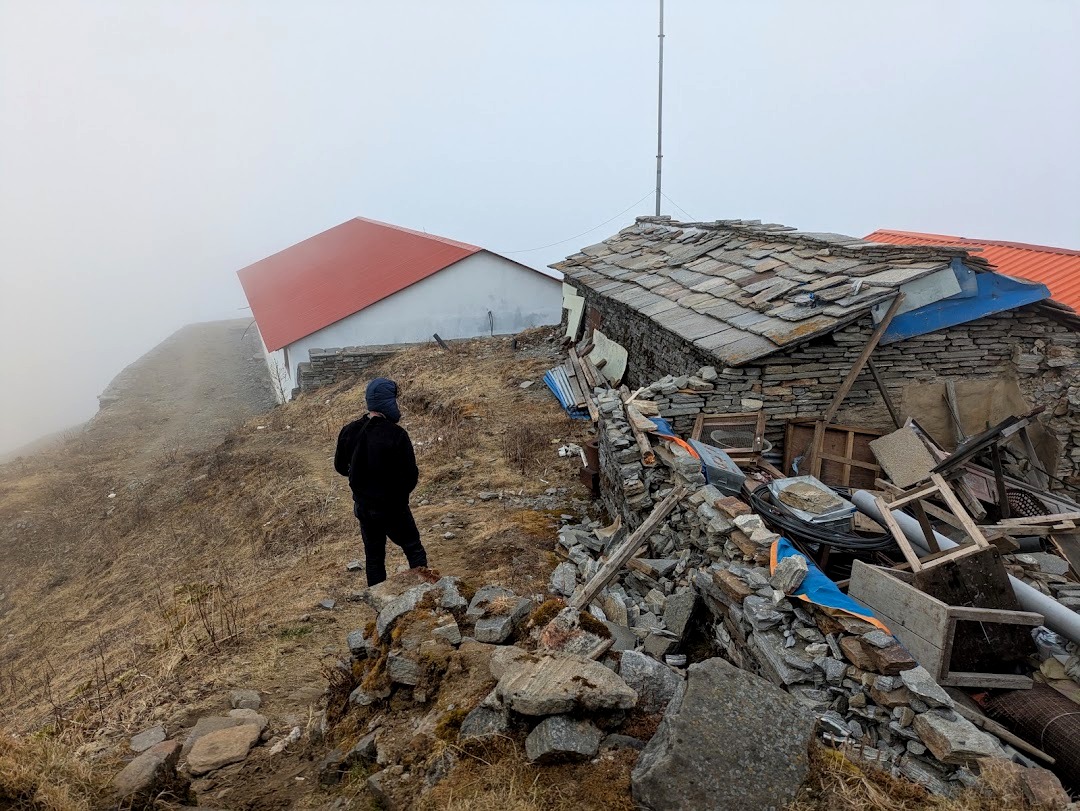
The mice. We had a terrible night’s sleep because mice were running around our room all night, and they were completely brazen. They were after our almonds. Even though we’d hung our bag up somewhere we thought was out of reach, they made a racket climbing up and leaping across the room. At one point they ran across our duvet while we were trying to sleep. Eventually we put the almonds outside the room, which seemed to help. Lesson learned: don’t keep food in your room up here.
At this altitude, you sleep in as many clothes as you possibly can, inside the rented sleeping bag (which is very warm) and a sleeping bag liner.
Day 5: Khopra Danda to Swanta (and the Khayar Lake Decision)
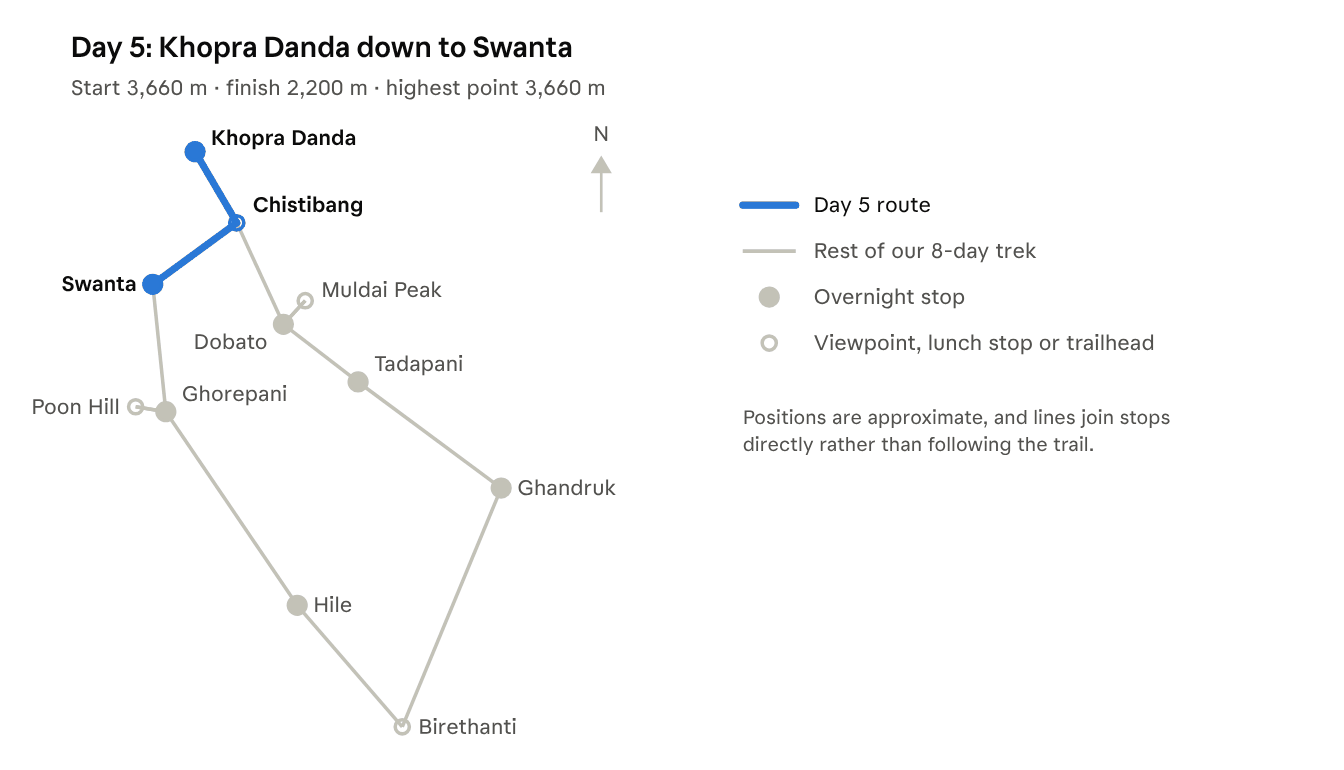
Distance: about 11 to 12 km · Time: we arrived around 3pm · Altitude: about 3,660m down to 2,200m
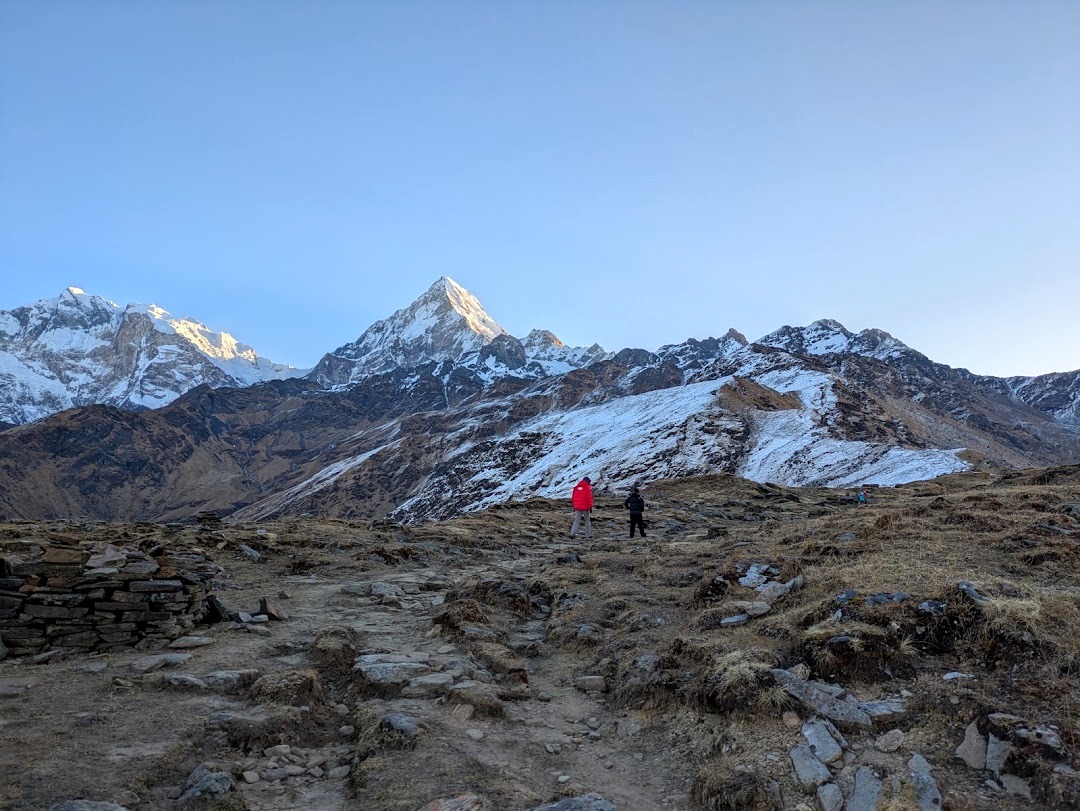
Should You Go to Khayar Lake?
From Khopra Danda, there’s an optional side trip up to Khayar Lake, at around 4,600m. It’s the highest point you can reach on this trek, but it’s a long, high day, and doing it means spending another night at High Camp.
We decided not to go, even though the conditions were very good. One of us was quite unwell with a cold by this point, and we felt we needed to get lower and warm up.
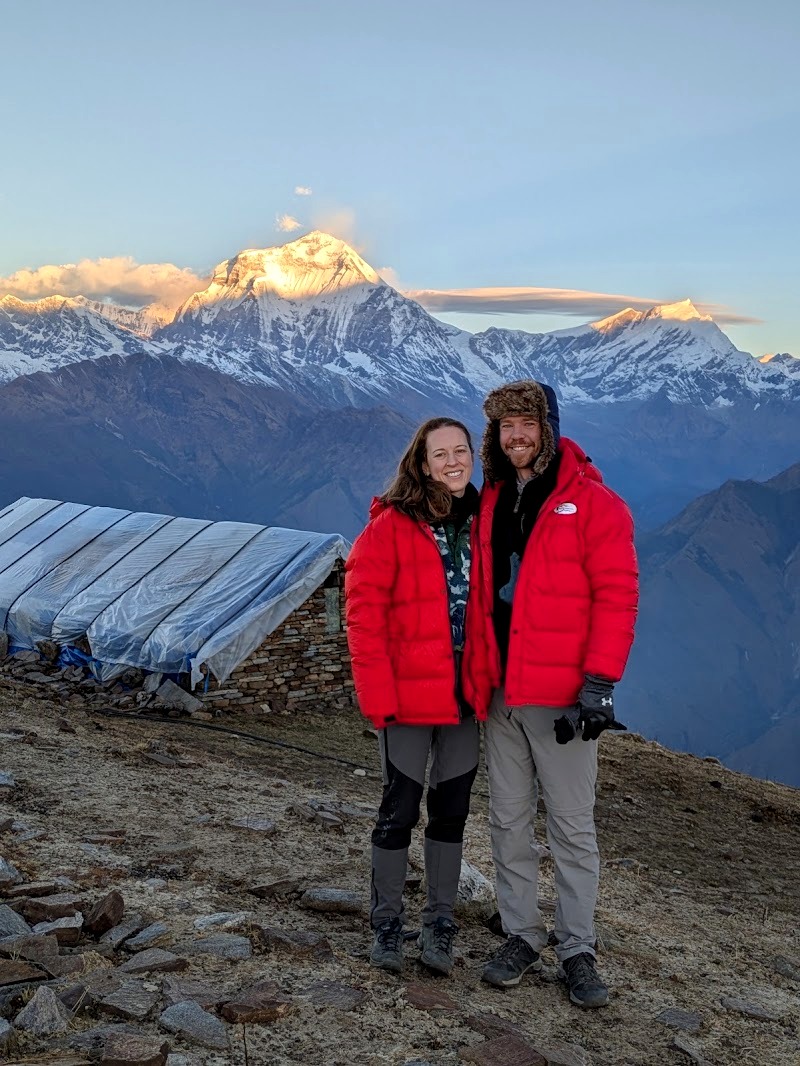
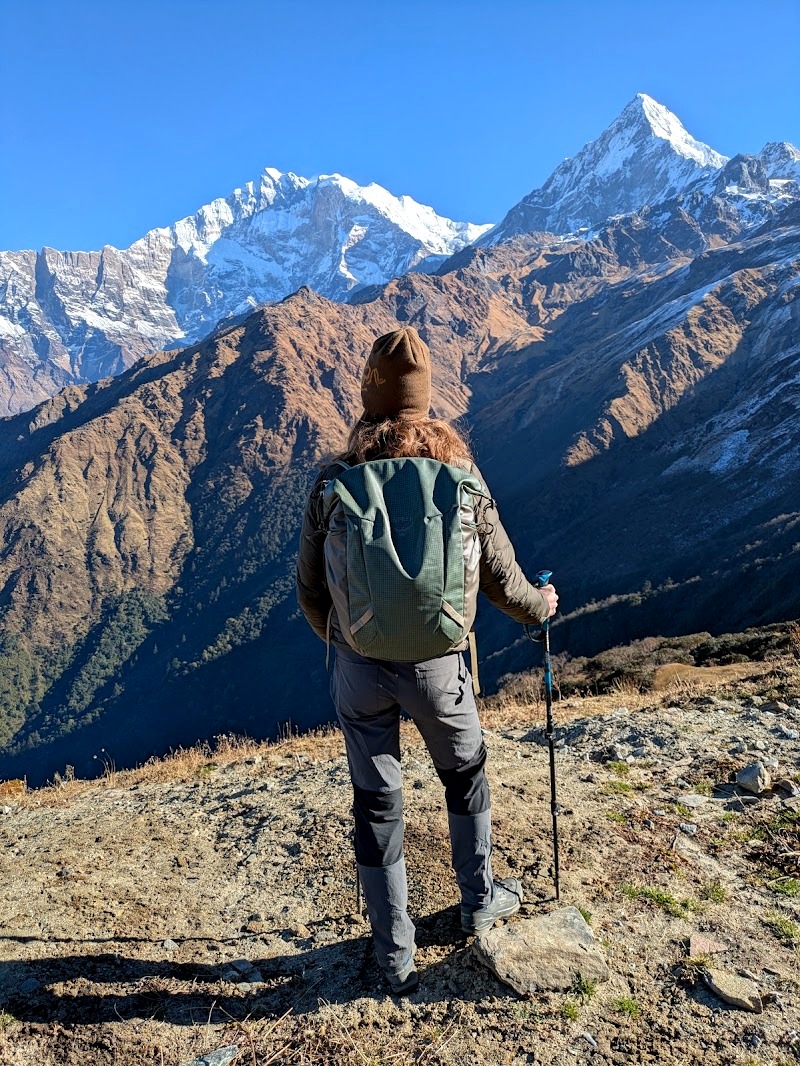
Instead, we found a nice compromise. We walked up from High Camp to the snow line in the morning, enjoyed the views (spectacular, though not quite as good as Muldai Peak), and came back down for breakfast. It was great to get up to the snow.
If you’re fit, acclimatised and feeling well, Khayar Lake would be an amazing addition. If you’re not, don’t push it.
Down to Swanta
This is a beautiful day’s walk because you start very high and finish very low, so the scenery keeps changing. You head down across the high plains first, back down the yak path to Chistibang, then through jungle before you eventually reach Swanta.
One thing we saw a lot of on this stretch was damage from landslides. Quite a lot of the time you’re walking across a path that’s been swept away and rebuilt. The region suffers badly from floods, landslides and avalanches after heavy rain or snow (more on that below).
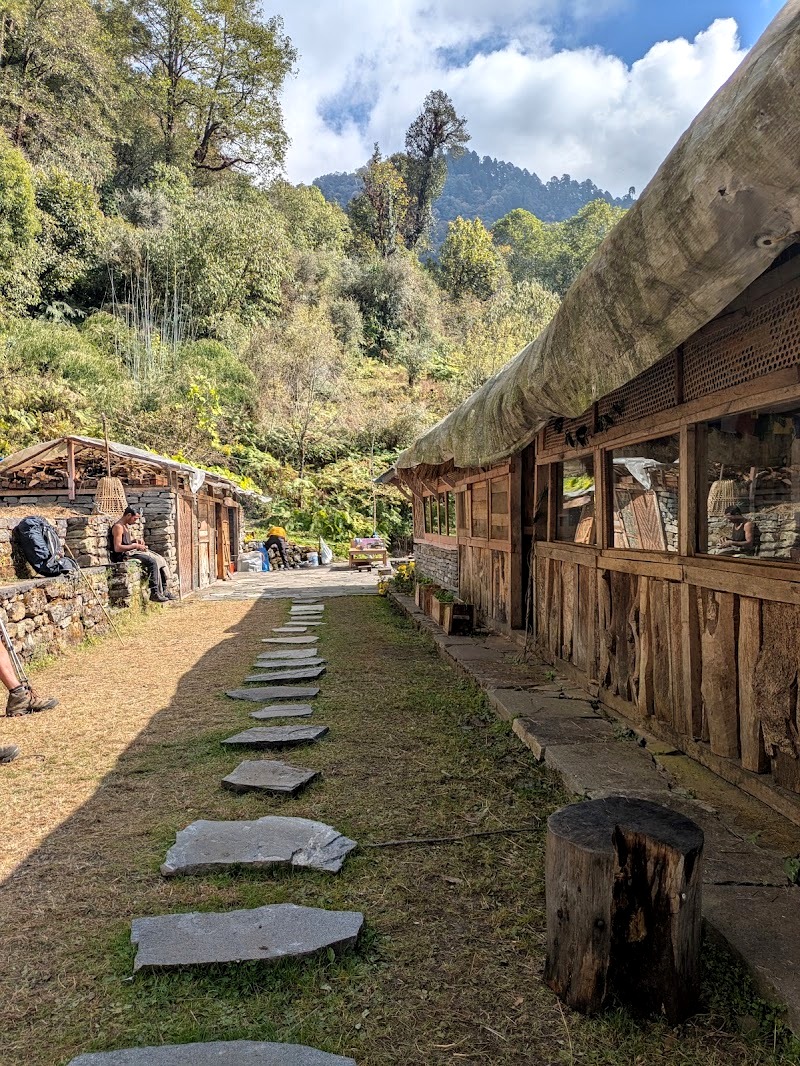
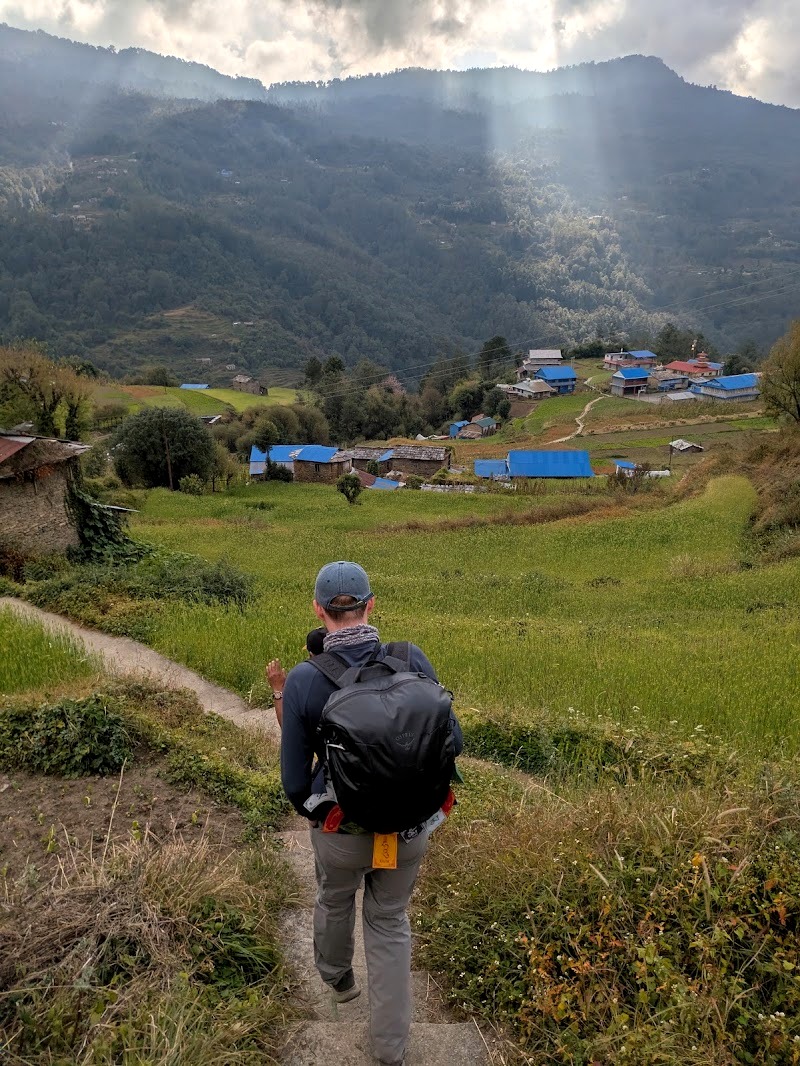
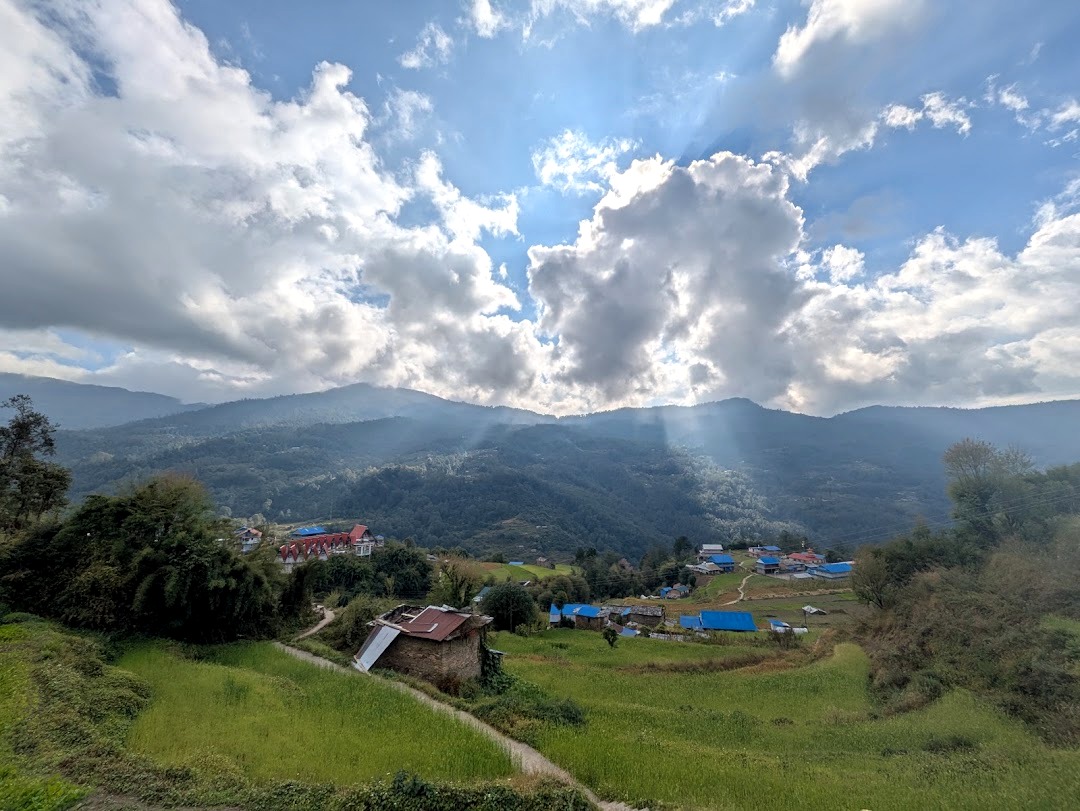
Swanta. This is an agricultural village that looks almost Alpine: very picturesque, and it catches the light beautifully. You can see the farming life going on all around you. There are only two or three lodges here.
We stayed at the Candle Inn, where we had an en-suite bathroom and a very clean room for the first time since Ghandruk. We had a great night’s sleep, and the food was decent too. After two nights up high, it felt like luxury.
Day 6: Swanta to Ghorepani
Distance: about 8 to 9 km · Time: 4 to 5 hours · Altitude: 2,200m to about 2,860m (roughly 500m of climbing, after a descent)
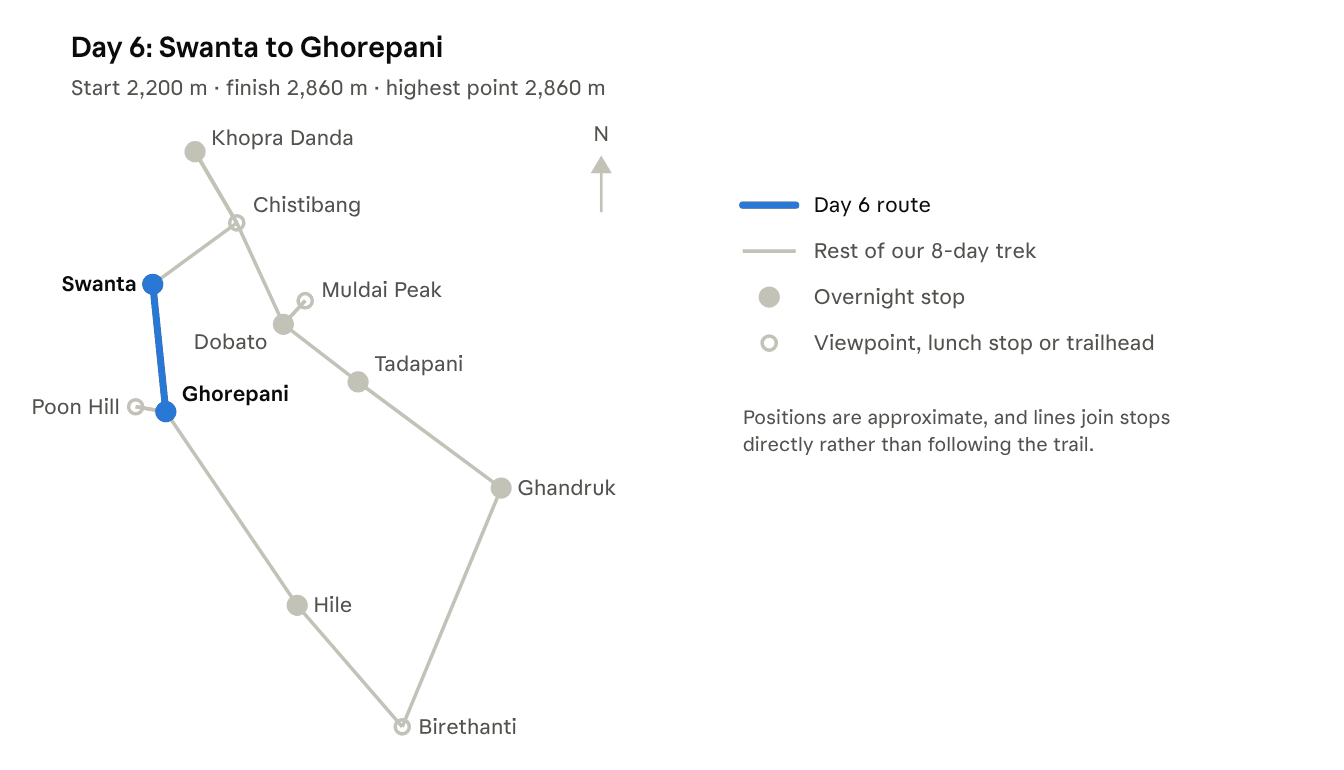
Today you head down into the valley and back up the other side, mostly walking through villages again. We reached Ghorepani by lunchtime.
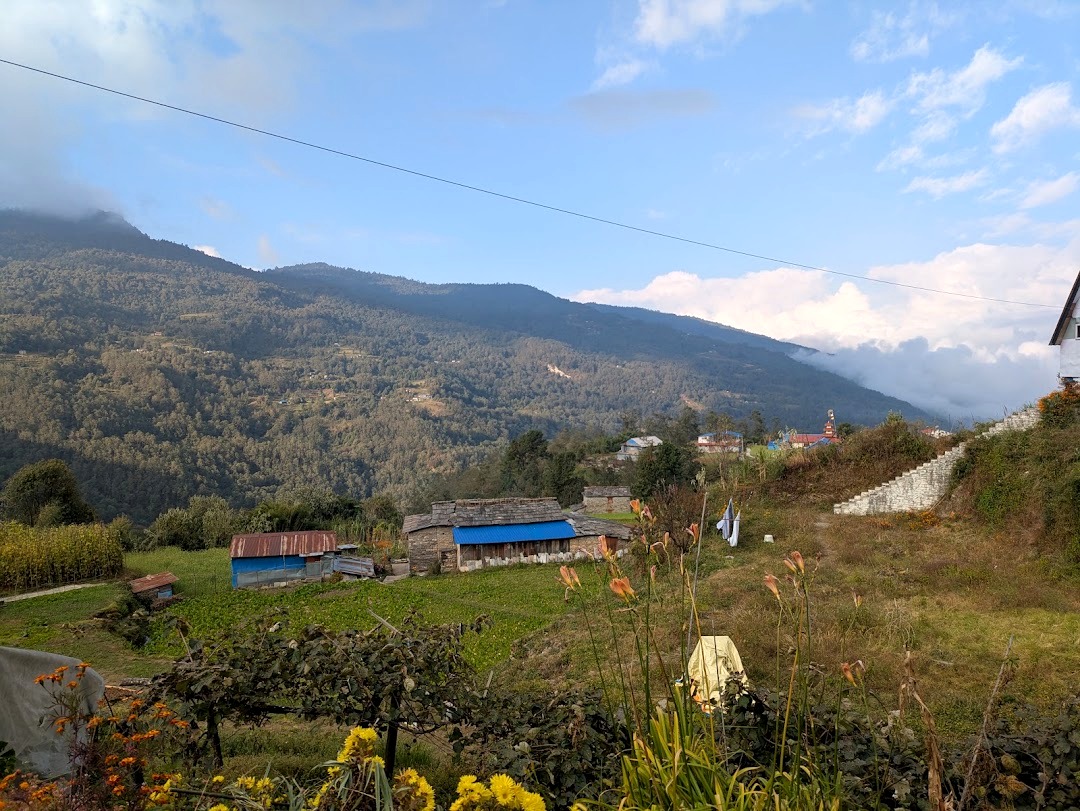
Ghorepani is a different world. It’s accessible by jeep, and it’s the base for the short and very popular Poon Hill trek, so it’s much busier than anywhere else on the route. Where Swanta has two or three lodges, Ghorepani has 30 or more.
Where we stayed. We stayed at the Hungry Eye Hotel, an octagonal, tower-shaped building with beautiful views of the mountains. The communal area was really clean, nice and warm, with much better insulation than the lodges higher up.
And it had proper coffee! There’s an espresso machine, although not everyone working there knew how to use it, so sometimes we only got tea. Still, much better than none.
We had a double bed again, plus our own en-suite toilet and shower (the shower was still cold, but hey ho), and really good food. We spent the afternoon warming up and resting before an early start for Poon Hill.
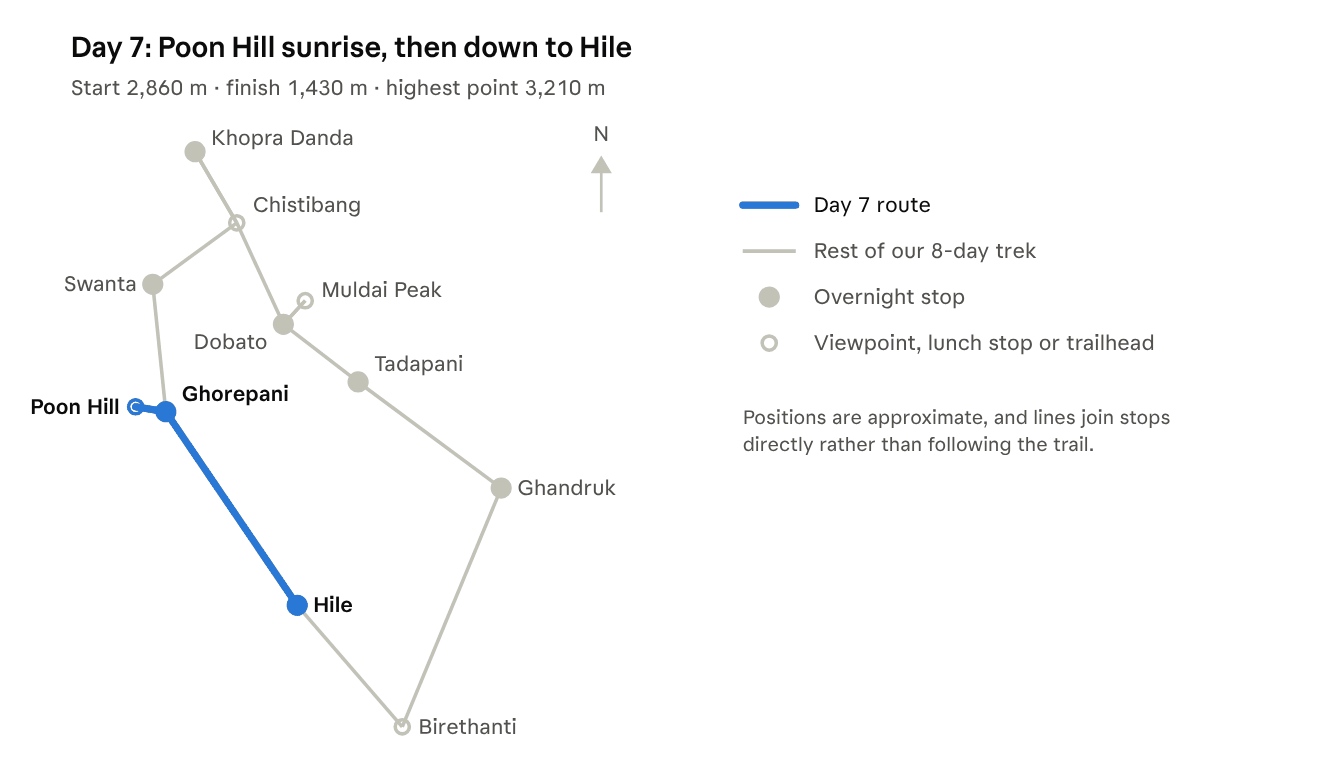
Day 7: Poon Hill Sunrise, Then Ghorepani to Hile
Distance: about 15 km, including about 3 km up Poon Hill and back · Time: about an hour up to Poon Hill, then about 6 hours’ walking · Altitude: up to 3,210m at Poon Hill, then down to about 1,430m at Hile
Sunrise at Poon Hill
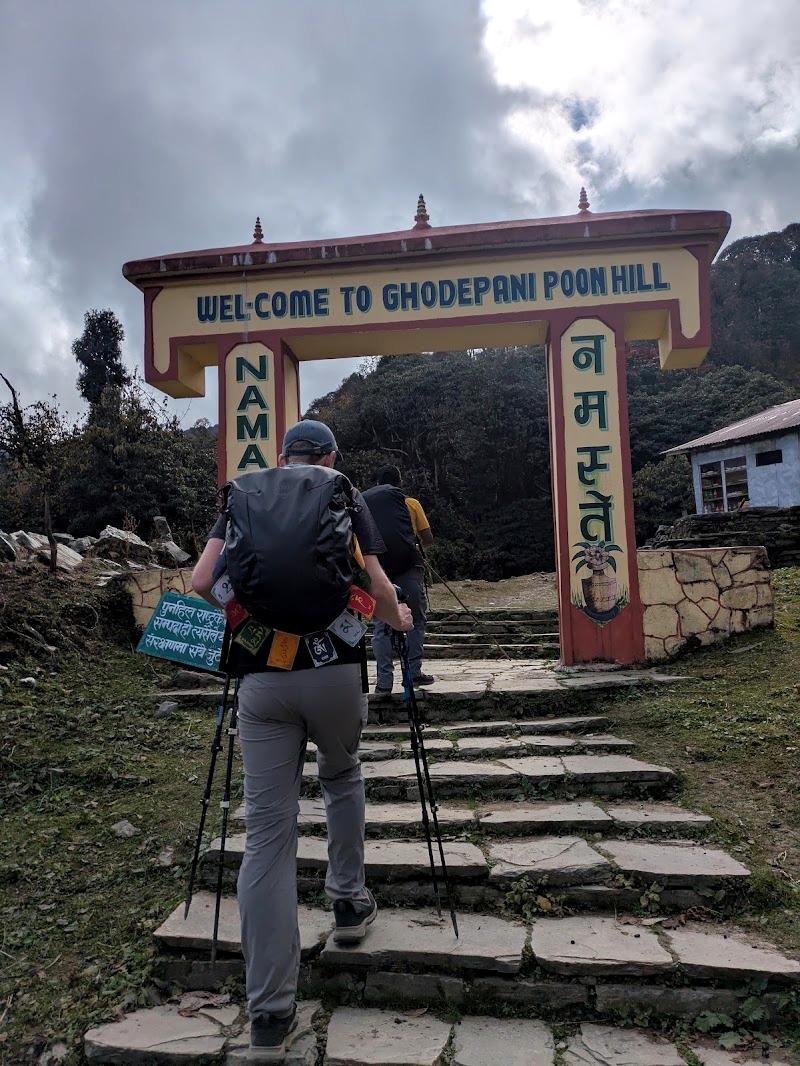
We were up at about 5:15am and climbed for roughly an hour to the top of Poon Hill. From there you get great views of the Dhaulagiri and Annapurna ranges. Entry was 150 NPR, and you can buy coffee and drinks at the top.
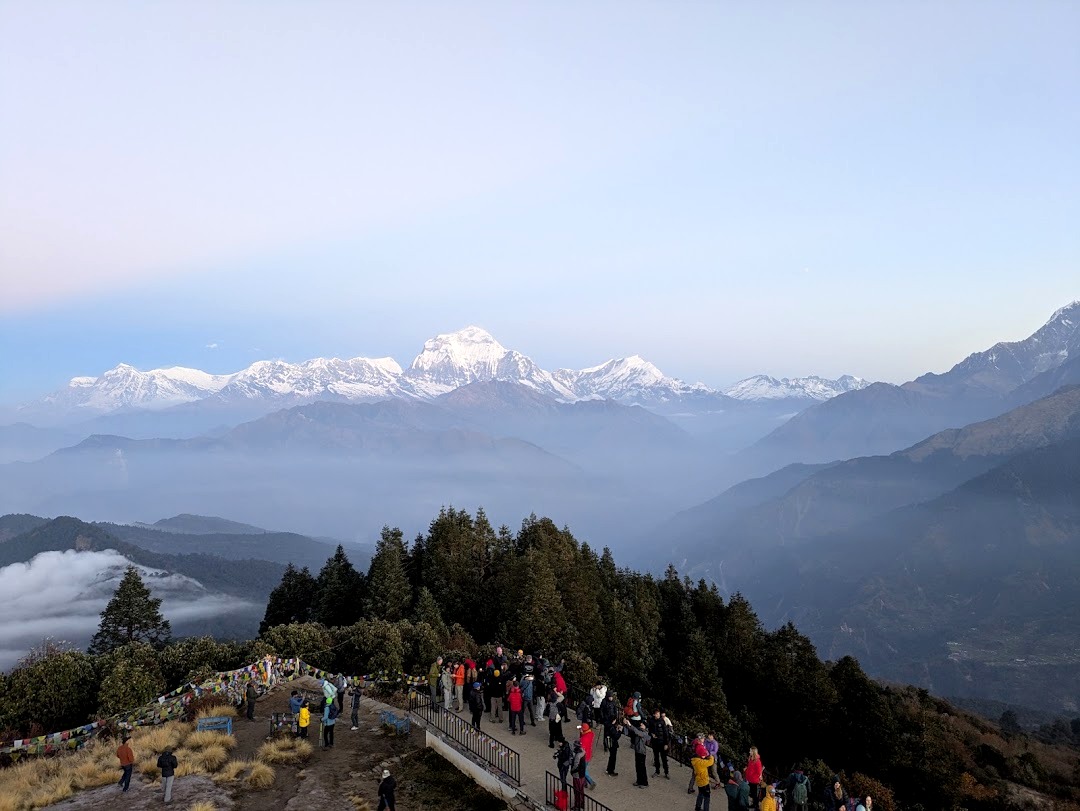
Take it seriously. Poon Hill is lower than Khopra Danda or Muldai Peak, but we saw a young woman collapse on the way up. Whatever the cause, it was a reminder that the “easy” viewpoint still deserves respect. Take your time on the climb.
By this point our altitude sickness had pretty much gone, but we were tired from several days of consecutive walking, not much sleep, and a lot of cold.
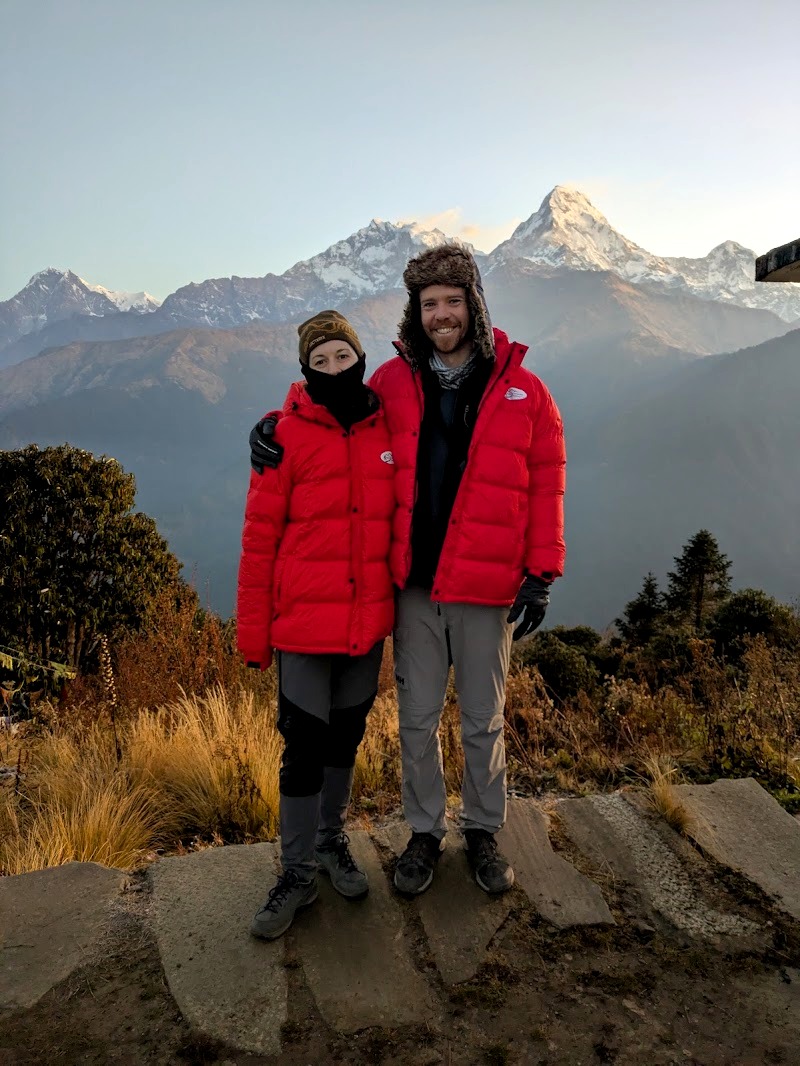
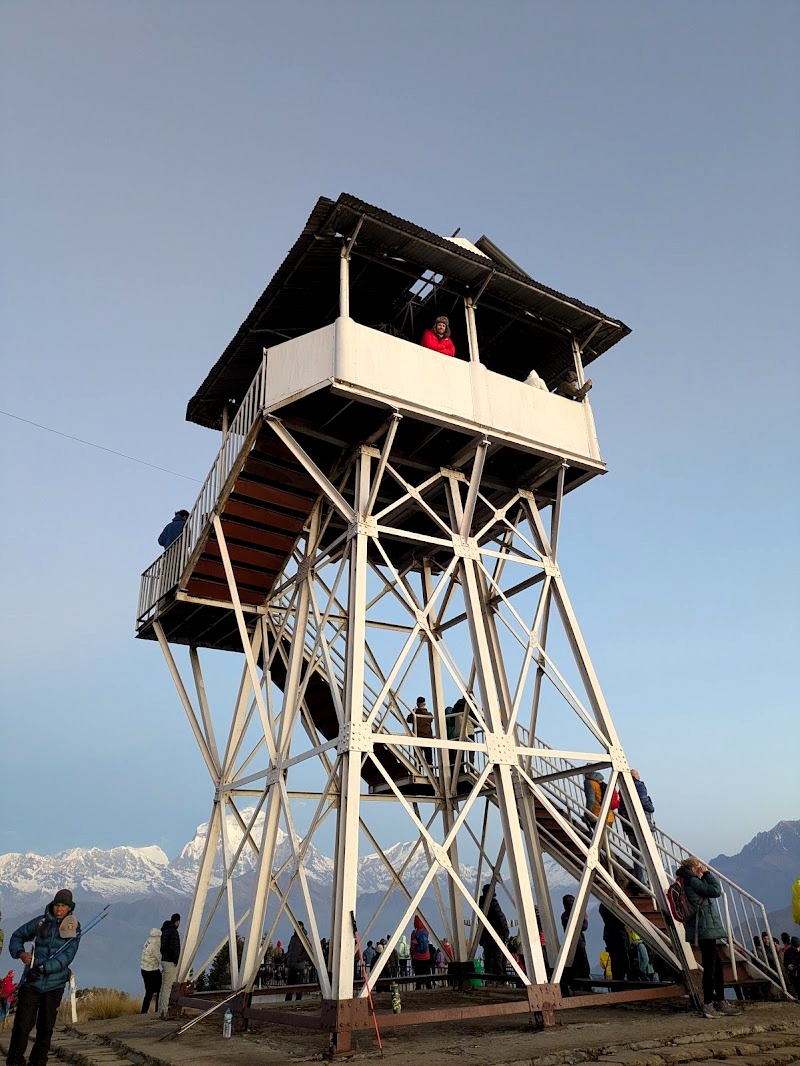
Our honest take. Poon Hill is great, and if you want to do some hiking but not a huge amount, we’d highly recommend the three-day Poon Hill trek. But because we’d already seen even better views from Muldai and Khopra, we didn’t feel the need to spend hours up there. We headed back down to Ghorepani for breakfast.
Ghorepani to Hile
After breakfast, it was a long descent of about 12 km and roughly six hours, mostly downhill on a jeep track or stone steps through villages like Ulleri and Tikhedhunga, until we reached Hile, a small village just above Birethanti.
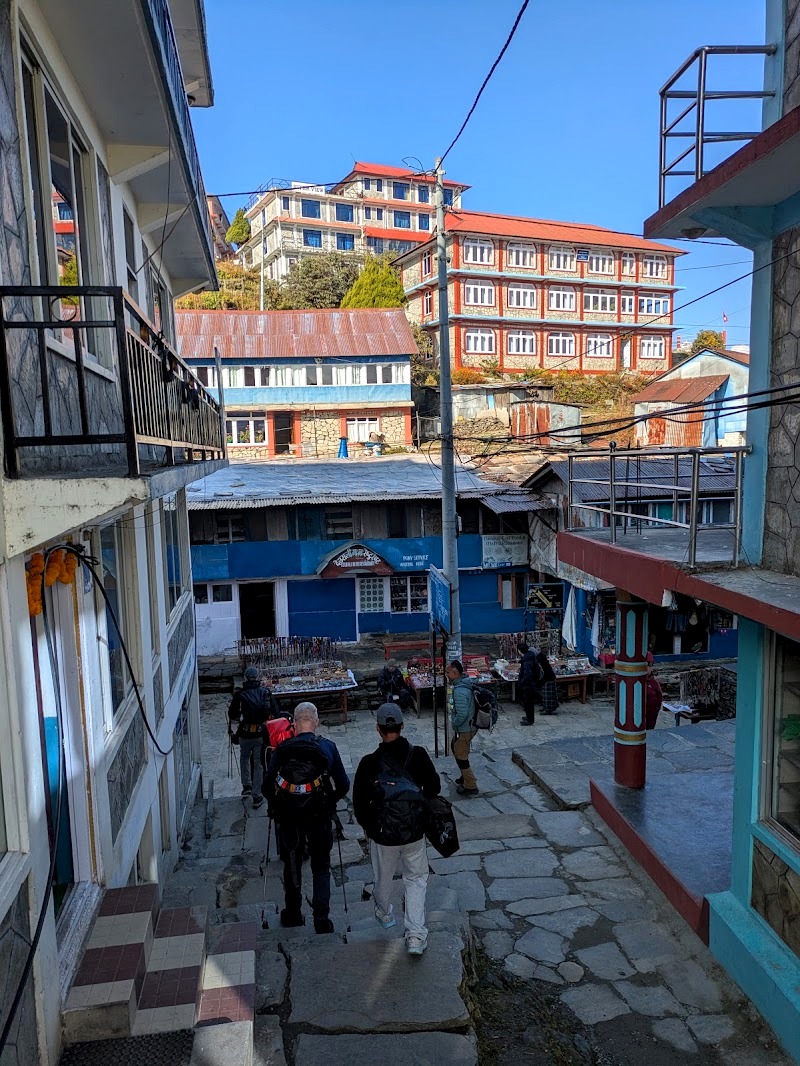
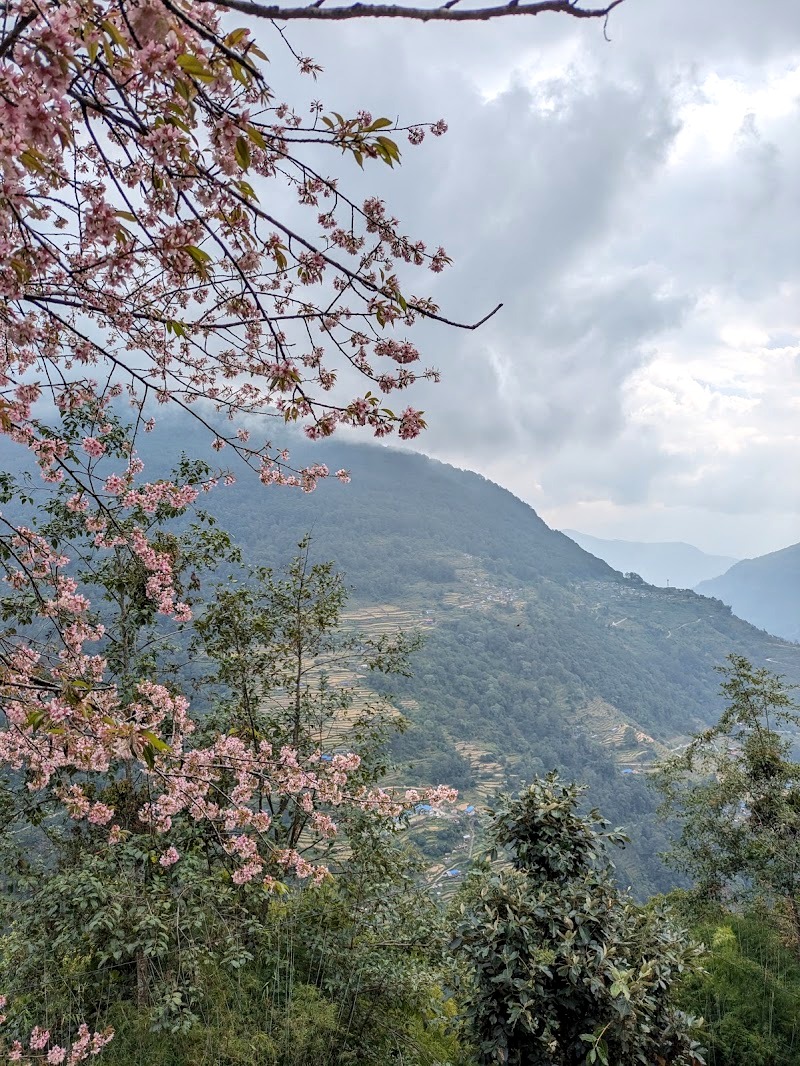
We had fantastic dumplings in Hile at about 1:30pm, and a clean room with a double bed. The sheets were clean enough that we didn’t feel we had to get the sleeping bags out, which was a treat. We were low enough by now that altitude wasn’t an issue at all.
We probably could have walked another hour to Birethanti and caught a car back to Pokhara the same day. But we decided to take our time, enjoy Hile and the views of the farmland, which were really lovely, and spend a lazy afternoon reading.
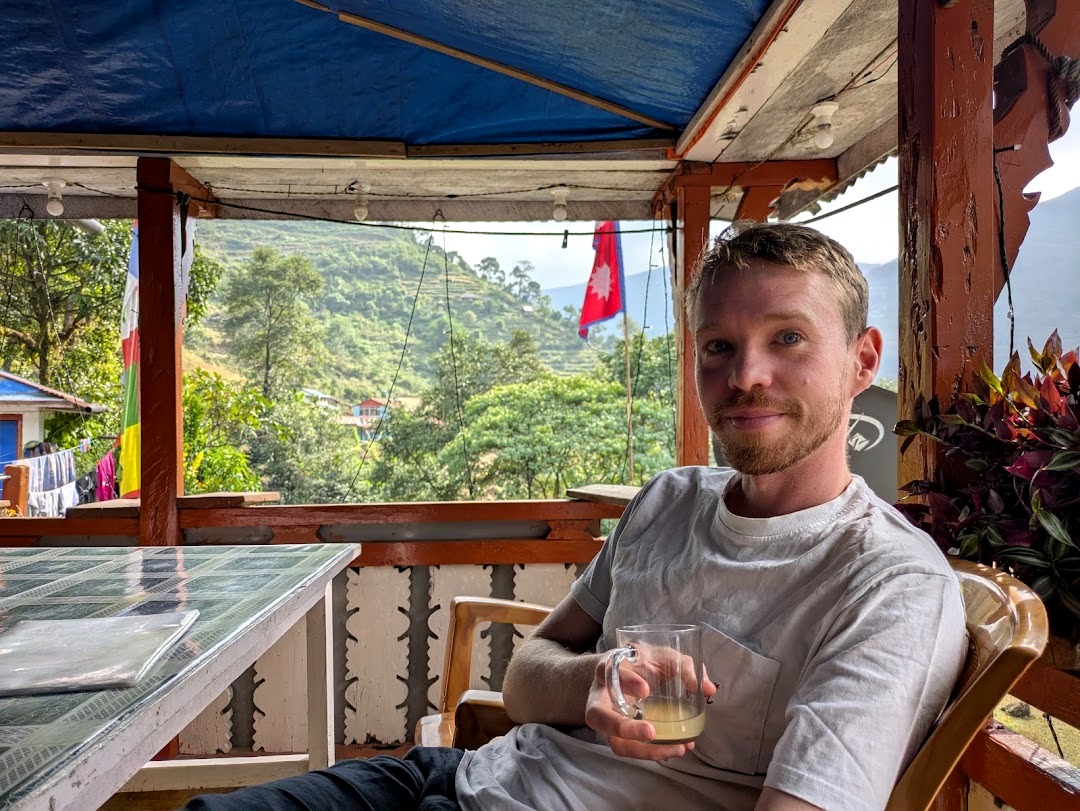
We stayed at Green View Lodge in Hile for our last night, as we’d missed Chistibang and merged hiking days. Many people won’t sleep in Hile, as it’s only 1.5 hours from the end. However, the food here was fantastic, the best of our hike, so definitely stop for lunch.
Day 8: Hile to Birethanti and Back to Pokhara
Distance: about 4 km · Time: about an hour’s walk, then 1 to 1.5 hours by car · Altitude: about 1,430m down to 1,025m
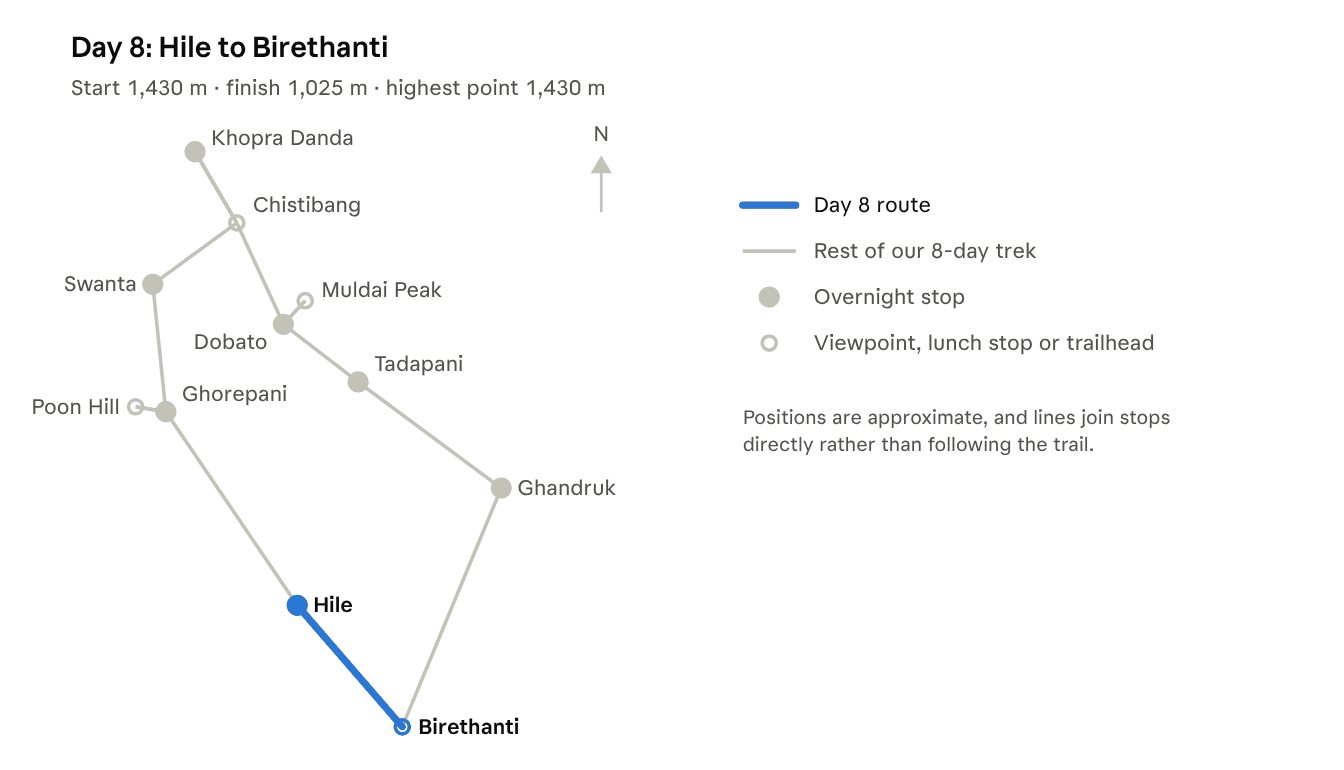
The last day is short and easy. After breakfast in Hile, we walked the final hour down to Birethanti, where a car was waiting to take us back to Pokhara.
We checked back into Mingtang Boutique Cottage at 10:30am. They let us check in incredibly early, which was exactly what we needed. Then we said goodbye to Bhim and Nima and gave them their tips (see below for how we did it).
The rest of the day was pure recovery: a laundry service collected our filthy clothes and cleaned our trekking shoes, we went for a proper coffee and a cinnamon roll, and had a great Korean dinner. Our Where to Stay in Pokhara guide has all the details.
Where we stayed in Pokhara. We really recommend Mingtang Boutique Cottage. We loved it so much, we ended up staying four nights after the trek. We had an incredibly friendly and warm welcome, with tea served on arrival and whenever we were relaxing in the common areas. The healthy breakfasts were great, and there was hot water and good wifi.
Teahouses on the Khopra Ridge Trek: Where We Slept
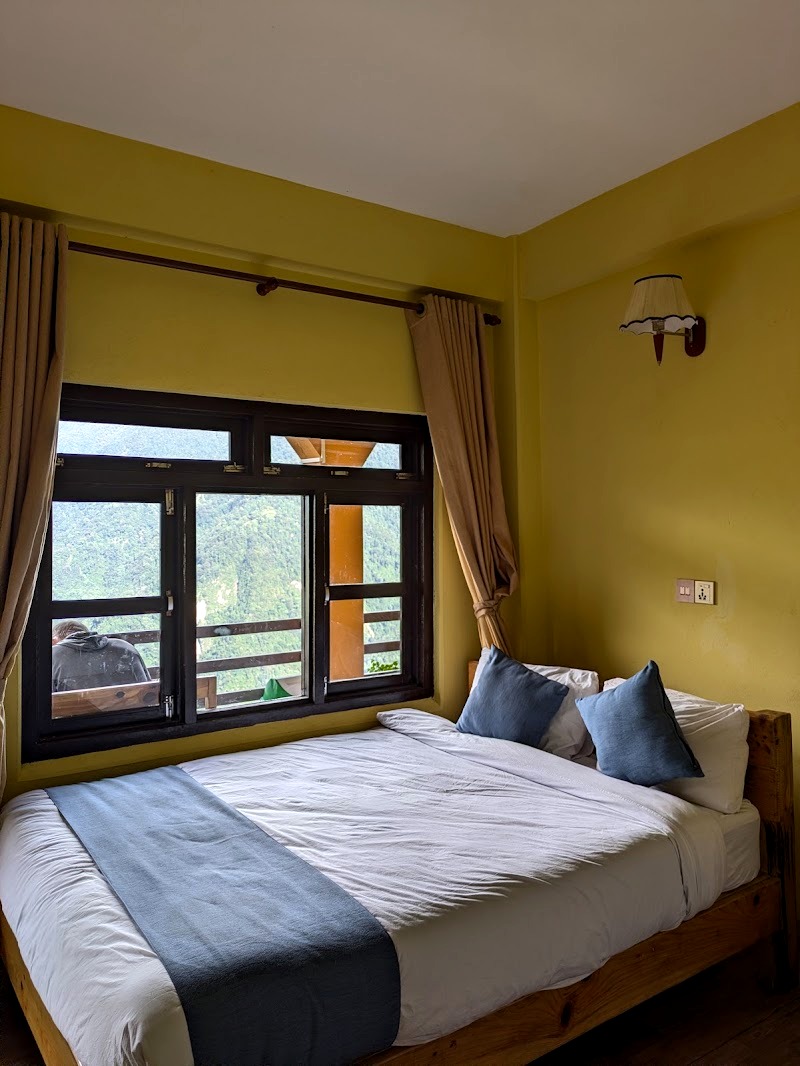
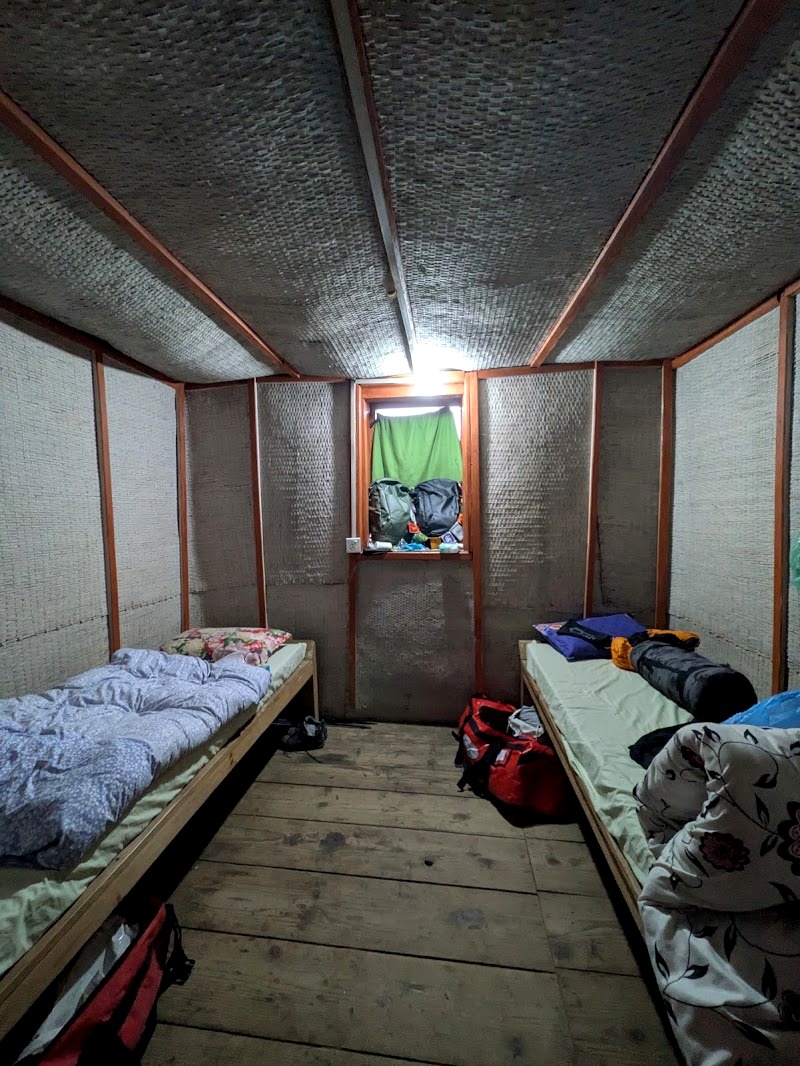
The teahouses (trekking lodges) on this route range from surprisingly comfortable to very, very basic, and generally get more basic the higher you go. Think youth hostel standard, run by local families. Most have a communal dining room with a stove, where everyone eats together and warms up in the evening. Showers are cold almost everywhere, and toilet roll isn’t provided (you can buy it, but bring your own).
| Night | Where | What it was like |
|---|---|---|
| 1 | Ghandruk (Hotel Trekkers Sanctuary) | New build, double bed, en-suite with a Western toilet and cold shower. Comfortable: enjoy it! |
| 2 | Tadapani (Himalaya Tourist Guest House) | Twin room, shared toilets and shower outside, not in great condition. |
| 3 | Dobato (Mt Lucky) | Very basic, very cold, and one of the least hygienic stays. The water froze overnight. |
| 4 | Khopra Danda (High Camp) | Very basic but cleaner than Dobato, with a great communal stove. And mice! |
| 5 | Swanta (Candle Inn) | Clean room with an en-suite. |
| 6 | Ghorepani (Hungry Eye Hotel) | Double bed, en-suite, warm communal area, mountain views and real coffee. Highly recommend. |
| 7 | Hile (Green View Lodge) | Clean double room with clean sheets, and fantastic food. Back to outside toilets and showers. Highly recommend. |
Booking. Your guide arranges the lodges as you go. They’re only loosely booked ahead, so they can fill up in peak season, which is why guides like an early start.
Our Tips: Keep food out of your room at the higher lodges (the mice will find it), wear as many layers as you can to bed, and pay the small extra for Wi-Fi or charging only when you need it.
Food and Water on the Trail
Your trekking package will usually cover one main meal at breakfast, lunch and dinner, eaten at the teahouses. Your guide organises where you stop. Lunch is usually around 12:30 and dinner around 6:30, and everyone’s in bed early.
Dal Bhat: The Trekker’s Fuel
Dal bhat is the staple meal of Nepal, and the guides and porters eat it pretty much all day, every day. It’s rice, lentil soup, curried vegetables and pickles. The good news: it’s relatively nutritious, and it comes with unlimited refills, because teahouses cook it in enormous batches.
The bad news: the quality varies a lot. There’s good dal bhat and bad dal bhat, and because it’s batch-cooked, a kitchen that isn’t hygienic can make you ill. Our guide team got sick after a dal bhat at Tadapani, probably from old rice.
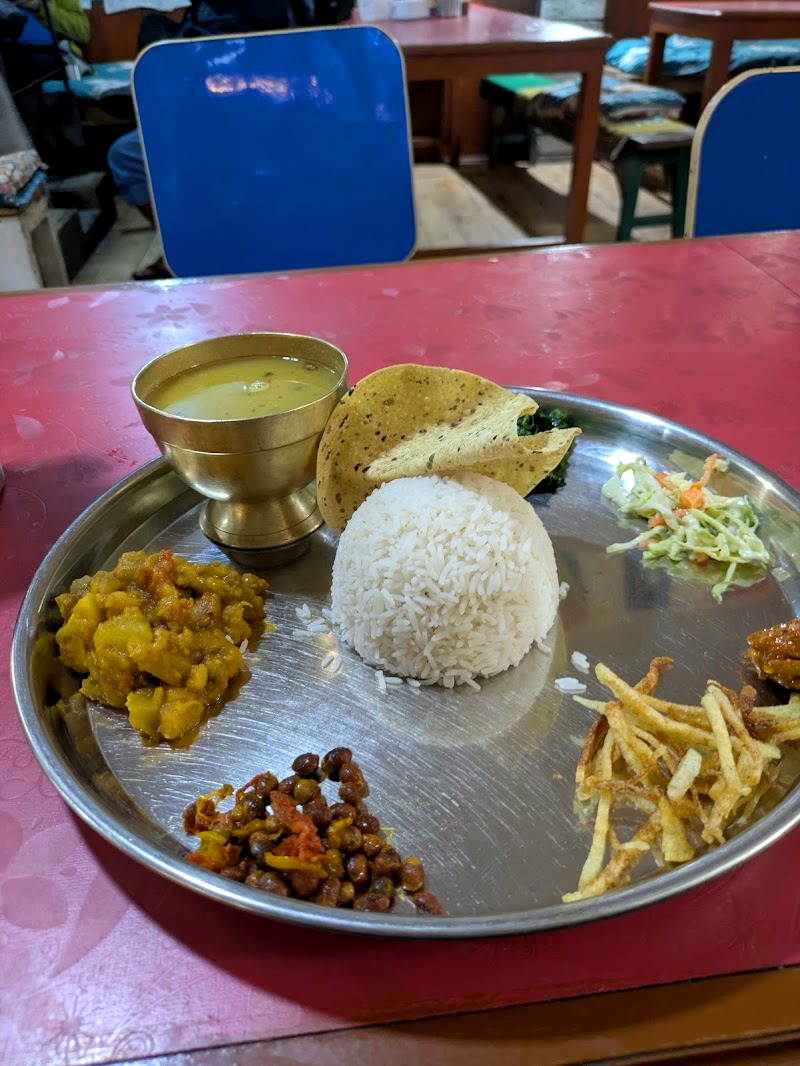
Our tip: if you’re worried about hygiene at a particular stop, order instant noodles with egg. They’re always freshly cooked, so you’re much less likely to get ill. The downside is that they’re less nutritious and less filling, so don’t rely on them every day.
Other Food
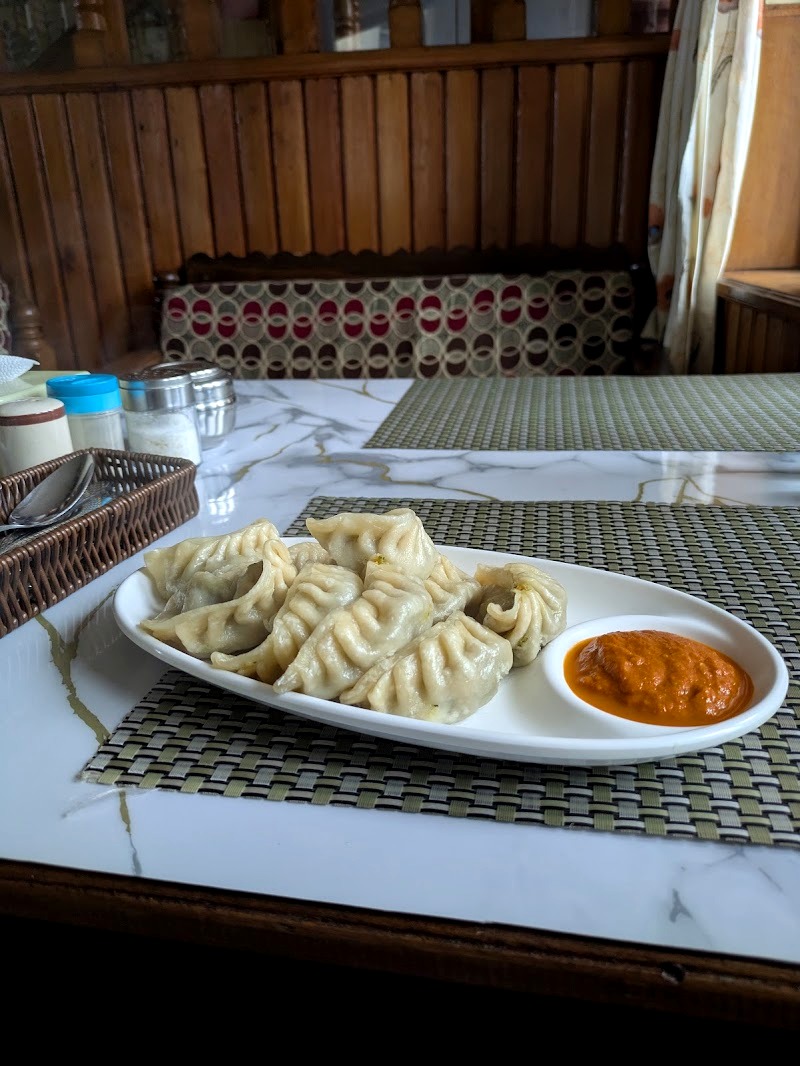
Away from dal bhat, we had excellent momos for lunch in Hile, and fried rice and noodles are common too. Western food is also available, such as macaroni and fried potatoes. The food is largely vegetarian, but meat is available too. Most of the vegetables on the trail are delicious because they come straight from the surrounding farmlands.
Water and Snacks
- Water: bottled water isn’t included and costs extra. If you’d rather not buy lots of plastic bottles, bring a filter bottle or purification tablets.
- Coffee: proper coffee is rare until Ghorepani, although you can buy tea and coffee at Muldai Peak and Poon Hill.
- Snacks: bring snacks from Pokhara for the long days. Just don’t keep them in your room at High Camp, unless you want to share them with the mice.
Altitude Sickness on the Khopra Ridge Trek
We both had mild altitude sickness on this trek, so here’s what we experienced and what we learned. This isn’t medical advice: speak to your GP or a travel clinic before you go, and listen to your guide on the trail.
What Happened to Us
We started to feel it at Dobato, at around 3,400m: headaches, and a really bad night’s sleep. One of us felt very sick at sunrise on Muldai Peak. Walking down to Chistibang the same morning pretty much cured it, and by the time we reached Poon Hill a few days later, it had gone completely.
The thing that surprised us was the sleep. We both really struggled to sleep up high and didn’t realise that was an altitude symptom until later.
When It Can Start
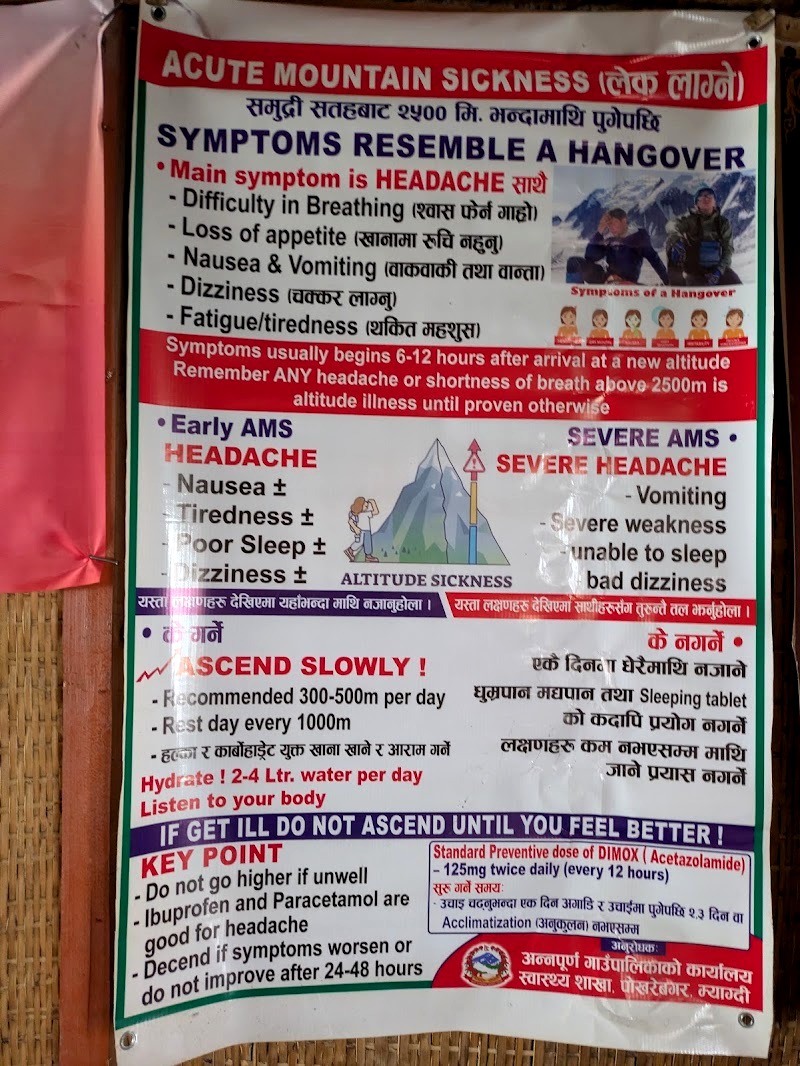
According to the NHS, altitude sickness usually happens above about 2,500m, and you’re more likely to get it if you climb quickly. On this trek you pass 2,500m on day two and sleep above 3,000m on nights three and four. That’s why day two is deliberately short.
Symptoms to Watch For
Mild symptoms include a headache, loss of appetite, feeling sick, tiredness, dizziness and difficulty sleeping. The NHS says painkillers such as paracetamol or ibuprofen can ease the symptoms.
More serious symptoms include a severe headache, vomiting, feeling very dizzy or weak, and being completely unable to eat or sleep. Altitude sickness can become life-threatening, so take it seriously.
What to Do
- Tell your guide and the person you’re travelling with as soon as you feel unwell.
- Don’t go any higher until you feel better.
- If your symptoms are severe or not improving, go down. The NHS advises descending around 300 to 1,000m.
- Follow the old rule: climb high, sleep low, and give yourself time to acclimatise where you can.
- Drink plenty of water so you don’t get dehydrated.
This is one of the big reasons to trek with a good guide. They know the signs, the lodges and the quickest way down. For us, simply walking down to Chistibang on day four made a huge difference.
Khopra Ridge Trek Packing List
Your porter carries up to 18 kg for two people, so pack light. Ours came to about 12 kg for the two of us, and we weren’t missing anything.
Provided by Our Trekking Company
- Two kit bags (one for their loan kit, one for our own things)
- Sleeping bags rated to -25°C
- Warm jackets for high altitude
- Microspikes to fit over your boots for snow and ice
- Trekking poles (we’d call these essential, especially on the descents)
Check what your company provides before you buy anything.
In Your Day Bag
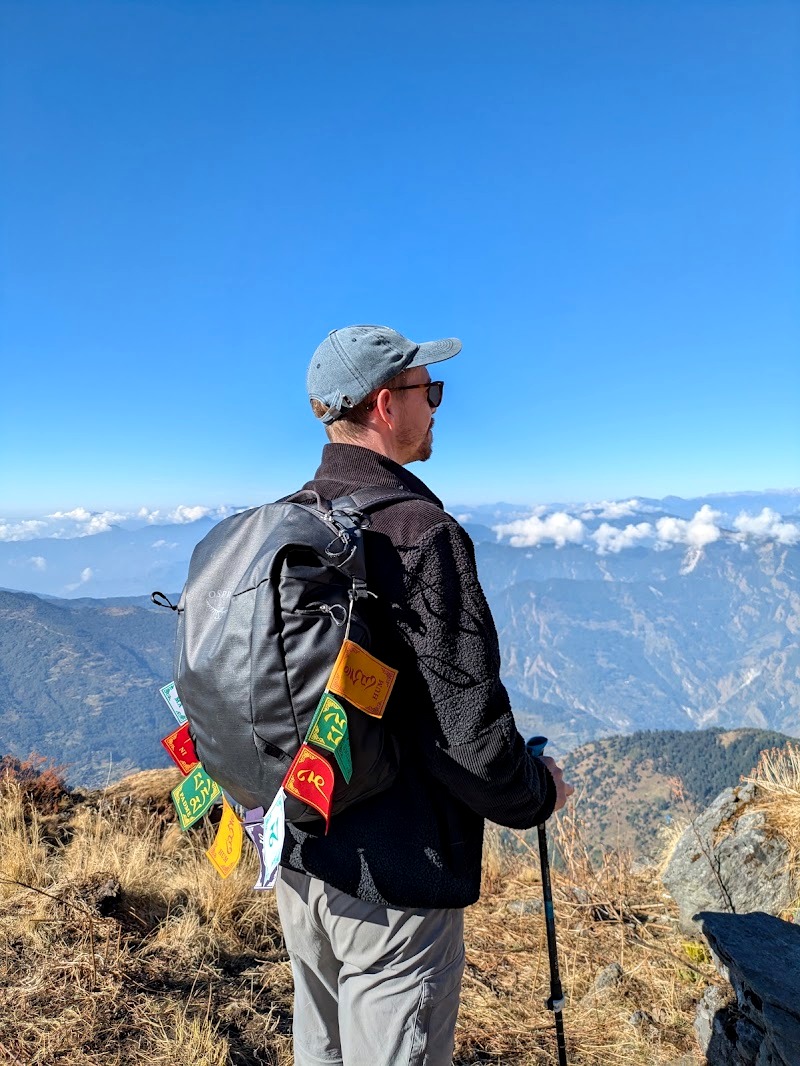
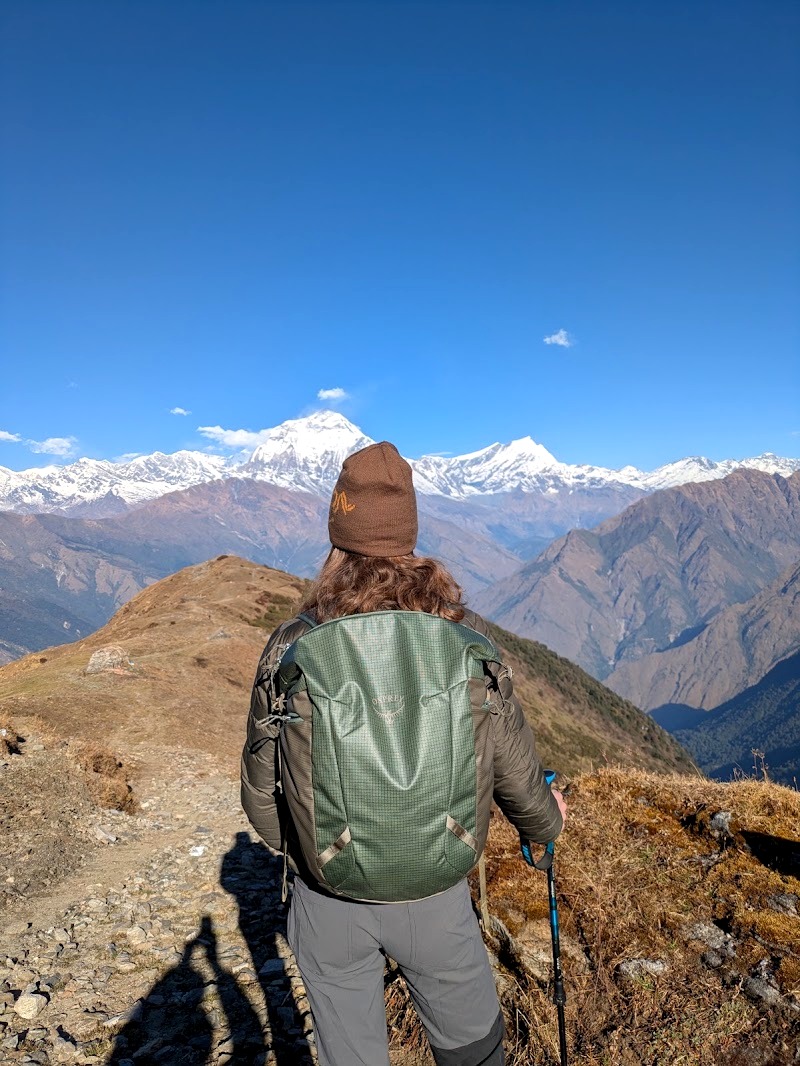
We both carried Osprey day packs for everything we needed during the day.
- Water
- Sun cream and lip balm
- Sunglasses
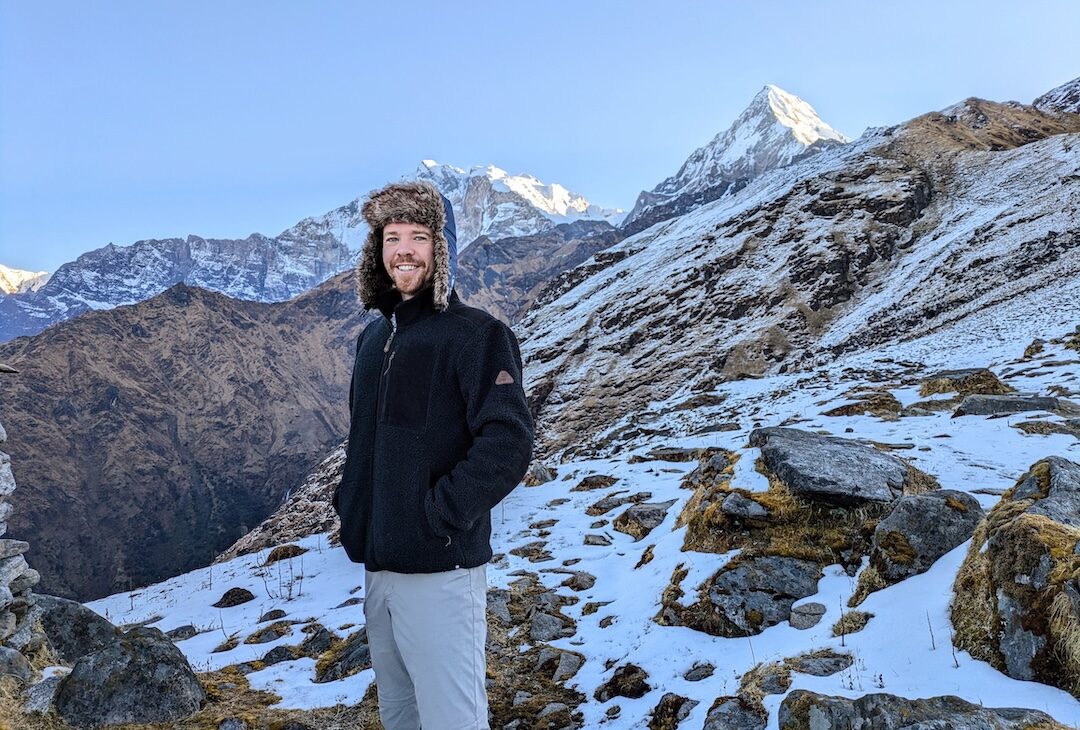
- A fleece and a waterproof (Luke wore his Sherpa fleece every day)
- Snacks for the day
- Lots of cash in small notes (including for viewpoint entry fees and coffee)
In Your Kit Bag
- Hiking trousers, plus shorts and a t-shirt for the hot lower days
- Hiking boots or shoes, plus flip-flops for the evenings
- Comfortable clothes for the teahousepo
- Thermals for sleeping
- Gaiters
- A beanie and a cap
- Waterproofs
- A sleeping bag liner
Toiletries
- Toothbrush and toothpaste
- Toilet roll (it’s not provided at the lodges, though you can buy it)
- Wet wipes, so you can stay reasonably clean when the showers are freezing
- Deodorant
Worth Bringing
- Your phone and/or a camera.
- Something for the evenings. Nights are long and dark. We brought e-readers and Skyjo, a card game.
- Binoculars, if you’re into birdwatching.
- A head torch. Not essential (we used our guide’s for the sunrise climbs), but handy.
- A rain cover for your backpack. We didn’t take one and got lucky with the weather, but we’d recommend it.
Buying Gear in Nepal
You can pick up everything you need in Kathmandu or Pokhara, and the prices are good, with decent quality for the money. If you want it done quickly, you’ll pay a bit more; if you have time to haggle, you’ll get a better deal.
Weather, Season and Trail Safety
When to Go
The main trekking seasons in Nepal are spring and autumn. We went in November, which is heading into winter. The crops were ripe and golden on the terraces, the skies were clear, and we got lucky with the weather for the entire trek.
November also means big temperature swings. Day one was baking hot, and we could have walked in shorts. Above about 3,000m it was a different story: light snow near Dobato, frozen pipes overnight, and nights where we slept in every layer we had.
Landslides and Trail Damage
This region suffers badly from floods, landslides and avalanches, usually after heavy rain or snow. We walked across plenty of sections where landslides had swept the path away, especially on the descent to Swanta.
Here’s our honest view. The local economy depends heavily on trekkers, so guides will often trek in almost any conditions, and it can take the government closing a route to stop people. That’s understandable, but it means you need to take responsibility for your own safety.
Our Advice
- Stay flexible. If you can, get to Nepal first and then choose a trek in an area that hasn’t been hit by recent heavy rain, flooding or snow, rather than locking in a route months ahead.
- Get up-to-date information. Ask your trekking company about current trail conditions just before you start.
- Check social media. People often post recent trail reports with dates in Facebook groups and similar, so you can see exactly who’s just done the trek and what conditions were like.
- Pack for rain anyway. Bring a rain cover for your backpack, even in the dry season.
Tipping Your Guide and Porter
Tipping isn’t mandatory, but it’s customary, and your guide and porter will have worked incredibly hard for you. Here’s what we did.
- How much: we tipped 10% of what we’d spent on the trek. On our US$1,300 for two, that’s around US$130.
- How to split it: slightly more for the guide, slightly less for the porter.
- How to give it: in cash, in an envelope for each of them. We added a postcard and a short thank-you letter.
- Who to give it to: hand each envelope over in person. Don’t give the whole tip to the guide to pass on. It’s polite and customary to make sure the porter receives his money directly from you, because porters work so hard.
We handed ours over when we said goodbye back at our guesthouse in Pokhara.
Shorter Versions of the Khopra Danda Trek
We walked from Birethanti and took eight days, but you don’t have to. Roads now reach Ghandruk (and Kimche just below it) and Swanta, so most shorter itineraries save time by using a jeep at one or both ends and by skipping Poon Hill. These are the main options we found offered by trekking companies. We haven’t done them ourselves.
| Version | Days from Pokhara | How it starts | How it ends | What you miss compared with our route |
|---|---|---|---|---|
| Express | 4 | Jeep to Ghandruk, walk to Tadapani | Walk down to Swanta, jeep to Pokhara | The walk up from Birethanti, Ghorepani and Poon Hill |
| Via Bayeli Kharka | 5 to 6 | Jeep to Kimche or Ghandruk | Swanta, sometimes on to Ghorepani | Dobato and Chistibang (you sleep at Bayeli Kharka instead) |
| With Poon Hill | 7 | Jeep to Ghandruk, walk to Tadapani | Ghorepani, Poon Hill, then down to Nayapul or Hile | Only the walk up from Birethanti |
The 4-Day Express
This is the shortest version we found. You drive from Pokhara to Ghandruk and walk to Tadapani on day one, reach Dobato on day two, go over Muldai to Khopra Danda on day three (a long day of around eight hours), then descend to Swanta on day four and take a jeep back to Pokhara.
Our take: it’s doable, but it’s a fast climb from Pokhara (around 820m) to 3,660m in three days, with long days on the trail. Altitude sickness is more likely when you go up quickly, so only consider this if you’re fit and have trekked at altitude before.
5 to 6 Days via Bayeli Kharka
Several companies run a slightly shorter route that sleeps at Bayeli Kharka (around 3,450m) instead of Dobato and Chistibang. It typically drives to Kimche or Ghandruk, walks up to Bayeli Kharka, continues to Khopra Danda, and descends to Swanta. Some versions add a day for Khayar Lake or continue on to Ghorepani.
Our take: a good middle ground if you want Khayar Lake but don’t have nine days. Check whether the itinerary still includes sunrise at Muldai Peak, as that was our highlight.
7 Days with Poon Hill
This is the closest to what we did. You drive to Ghandruk rather than walking up from Birethanti, then follow essentially our route: Tadapani, Dobato and Muldai, Khopra Danda, Swanta, Ghorepani, sunrise at Poon Hill, and down to Nayapul or Hile.
Our take: if you’re short on a day or two, this is the one we’d pick. You only miss the first day’s walk through the villages, and you keep both big sunrises.
Shorter Alternatives to the Khopra Ridge Trek
Not everyone has eight days. If you want a taste of the Annapurna region on a shorter trip, these are worth a look.
Poon Hill (about 3 days). If you want to do some hiking, but not a huge amount, we’d highly recommend the classic Ghorepani and Poon Hill loop. It’s busier and the views aren’t quite as dramatic as Muldai or Khopra, but you still get a superb mountain sunrise.
An overnight to Ghandruk. For a real taster, you could drive from Pokhara to Birethanti, walk up to Ghandruk (day one of our trek), stay the night and walk back down the next day. It’s a lovely, fairly easy trip through villages and terraced farmland.
Can You Trek Without a Guide?
Not legally, if you’re a foreign visitor. Since 1 April 2023, foreign trekkers in Nepal’s national parks and conservation areas, including the Annapurna Conservation Area, must be accompanied by a licensed guide booked through a registered agency. That applies to every option above, even an overnight to Ghandruk.
Honestly, we’d recommend a guide anyway. Ours handled permits, lodges, food stops and the decisions around altitude, which left us free to enjoy the walking.
Final Thoughts: Is the Khopra Ridge Trek Worth It?
Absolutely. The Khopra Ridge trek gave us the best view of our entire trip at Muldai Peak, quiet trails, yaks, golden harvest terraces, a proper taste of village life, and Poon Hill thrown in at the end. It also gave us a cold, mild altitude sickness, a night of mice and some very basic toilets. It was still worth every step.
If we went back, we’d bring a rain cover and cash for the viewpoints, and keep our snacks out of the bedroom. And if you’re fit and feeling well, consider the extra night at High Camp for Khayar Lake (or go for a really long day and stay the night at Chistibang).
If you’re planning your own trip, start with our How to Get from Kathmandu to Pokhara guide, then our Where to Stay in Pokhara guide for the nights either side of your trek. And if you have any questions about the Khopra Ridge trek, drop them in the comments below.
Spending a night or two in Pokhara either side of the trek? Here’s everything bookable around Lakeside on one map, so you can see what sits where before you book:
Keep Exploring
- Still choosing a trek? Our Annapurna treks compared guide puts the Circuit, Base Camp, Poon Hill, Mardi Himal and Khopra side by side.
- Starting in Kathmandu? Our Bhaktapur travel guide covers the medieval town where we stayed before and after the trek.
- Comparing trekking destinations? Five destinations perfect for trekking adventures, Nepal included.
- Want more walks? Our favourite hikes from around the world.
- Planning another multi-day trek? Our guide to hiking the Inca Trail to Machu Picchu.
- After a summit next time? How to climb Mount Toubkal, North Africa’s highest mountain.
FAQ: Khopra Ridge Trek
Danda is the Nepali word for a ridge or hill, so Khopra Danda simply means Khopra Ridge. That’s why you’ll see the same trek sold as both the Khopra Danda trek and the Khopra Ridge trek.
You can do the Khopra Danda trek in reverse, and plenty of trekking companies run it that way, climbing to Ghorepani and Poon Hill first and then heading on to Swanta and Khopra. We walked it via Ghandruk and Tadapani first, which meant our Muldai Peak sunrise came before Poon Hill.
You can’t see Everest from Khopra Danda, which is in the Annapurna region, a long way west of the Everest region. The big peaks you do see are in the Annapurna and Dhaulagiri ranges, including Dhaulagiri I, the seventh-highest mountain in the world.
You can do the Khopra Danda trek in the monsoon, which runs roughly from June to September, but it’s the hardest time to go. Cloud often hides the mountains, the trails are wet and slippery, and landslides are more likely, so spring and autumn are a much better bet.